

Crews from North Shore Roofingdried in the entire roof system and then installed the two-ply modified roof system manufactured by IKO. Photos: IKO
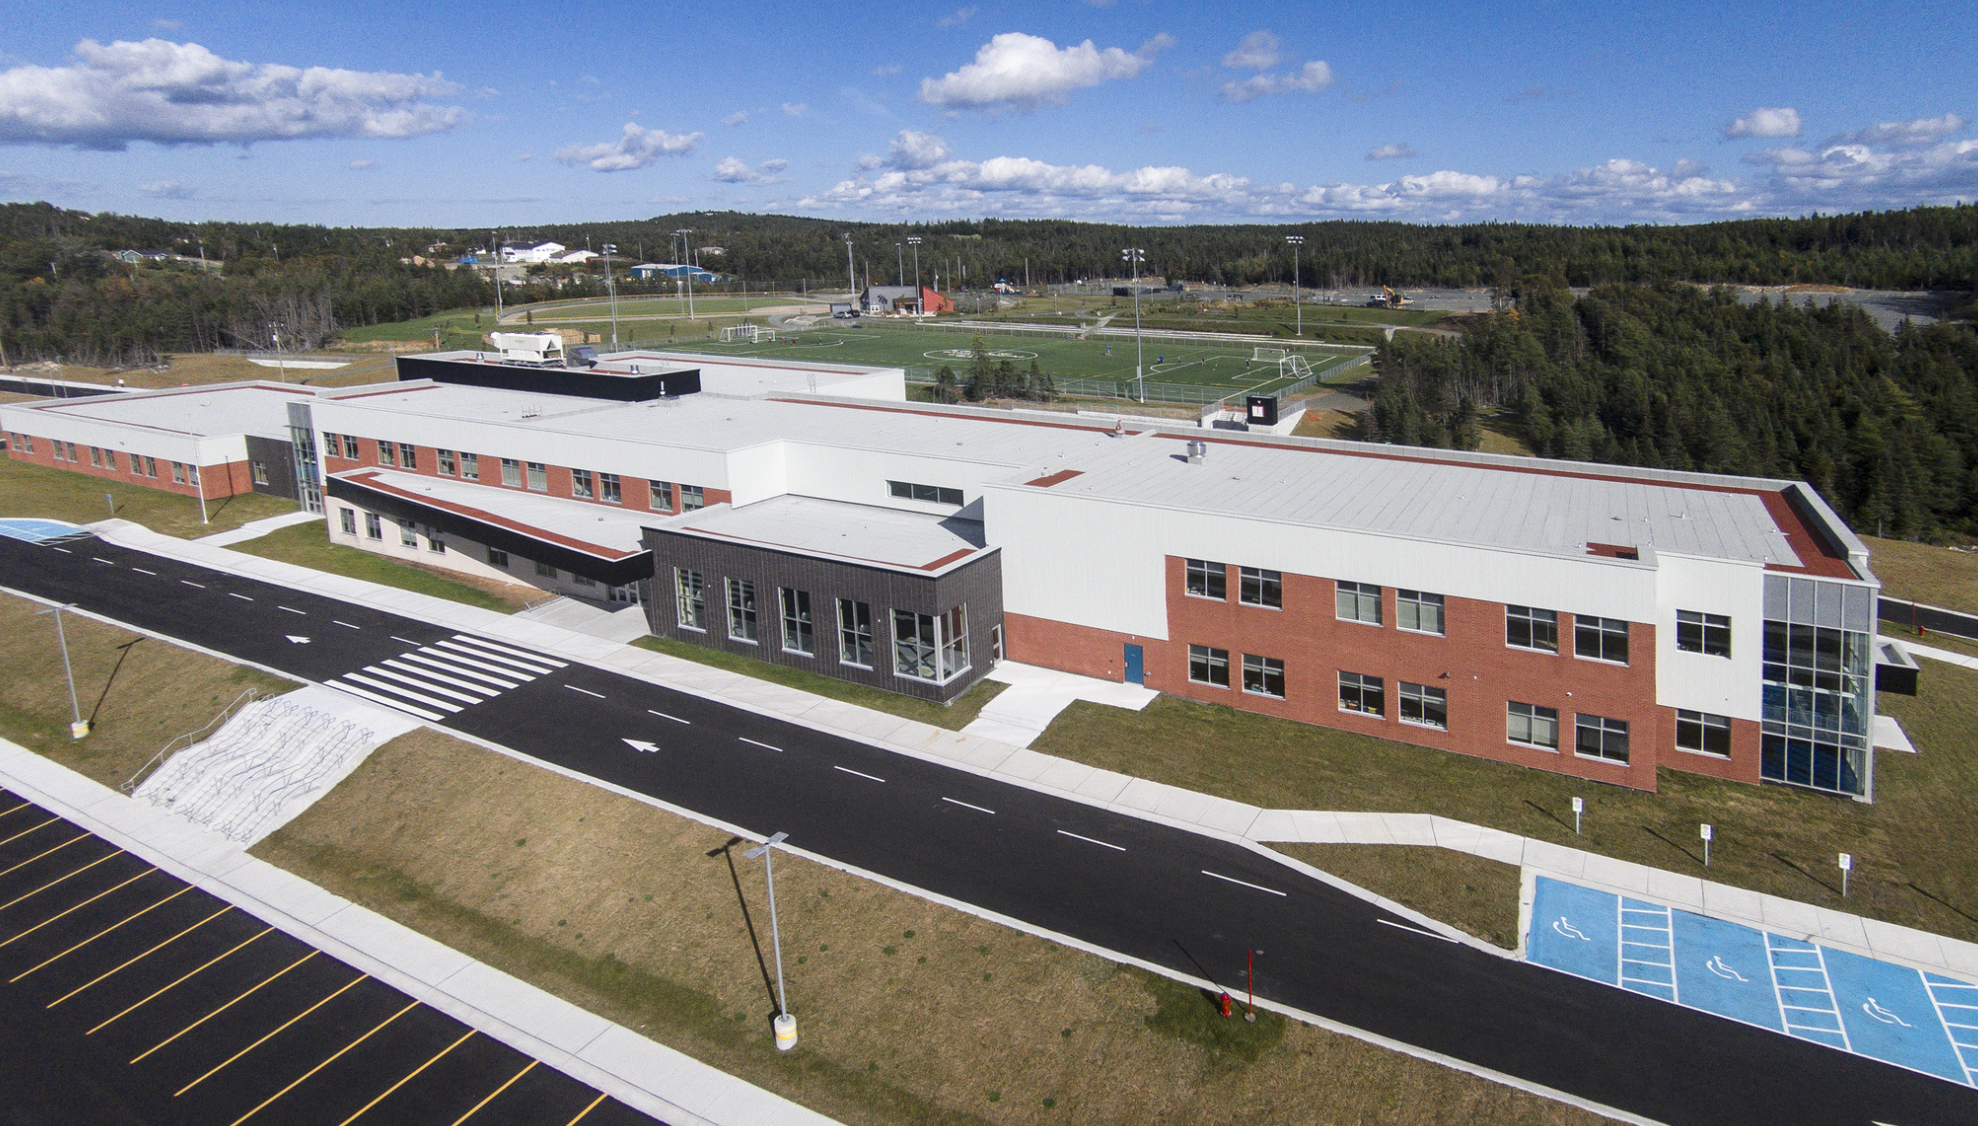
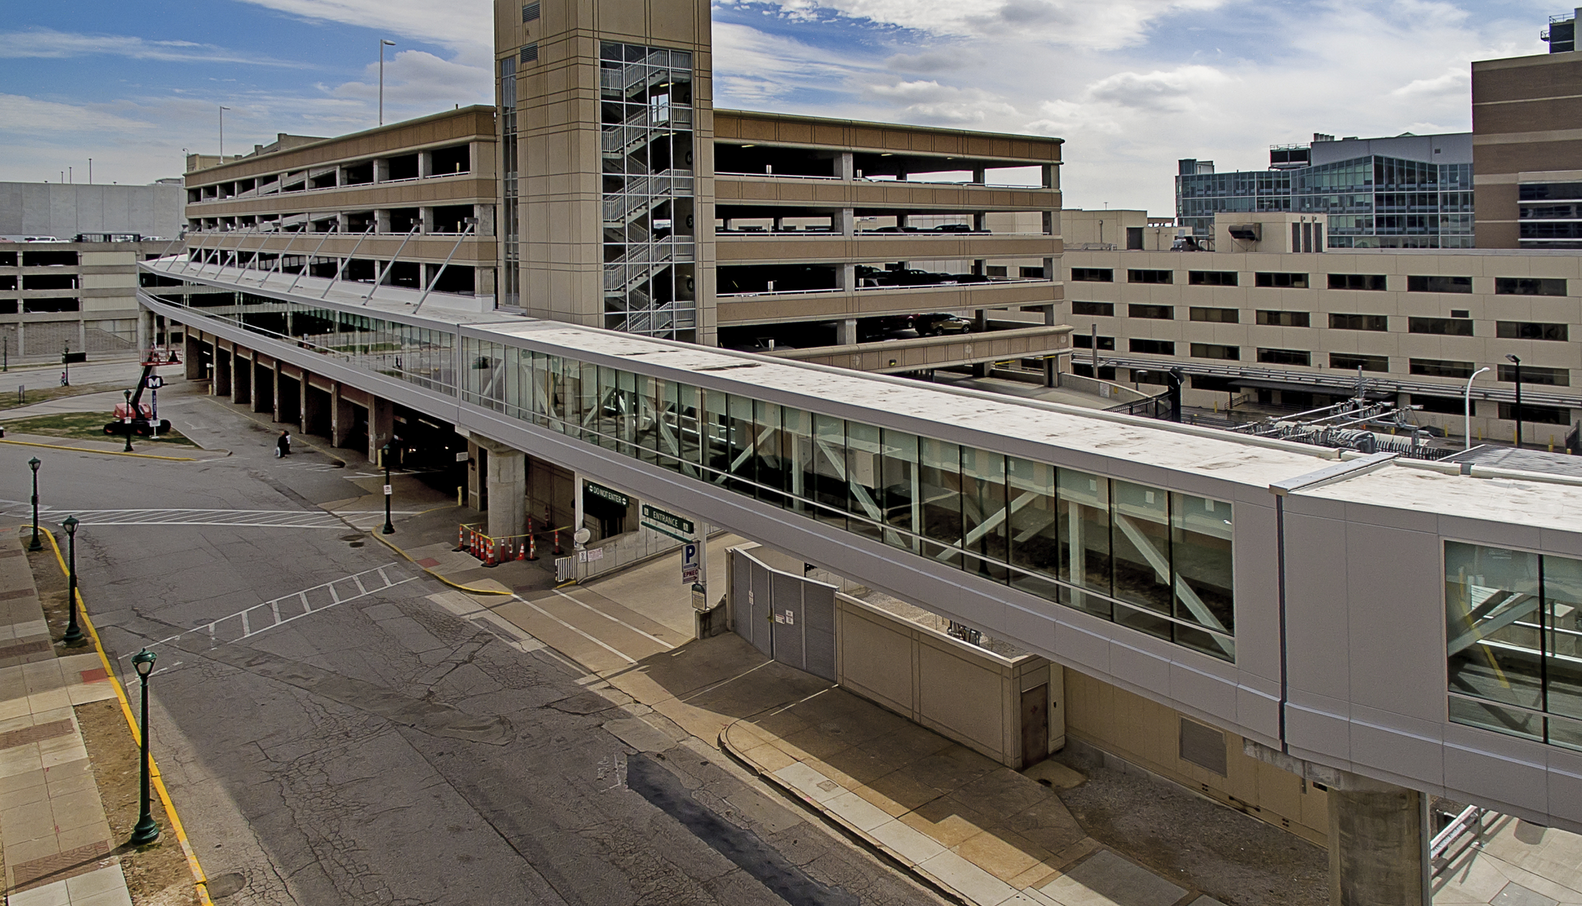
The new Brookside Intermediate School in Portugal Cove-St. Philips, Newfoundland and Labrador, Canada is a $24 million project. The two-story structure serves students in grades five through nine, and includes 31 classrooms, a gymnasium, and a commercial kitchen, as well as a library, science labs, a home economics room, a technology and fabrication lab, two music rooms, an art room and a computer lab.
The durability and sustainability of the roof and wall systems were crucial considerations during the specification process, as the building would have to perform well in the extreme weather conditions common in the easternmost province of Canada.
The roof system specified, a two-ply SBS modified bitumen application, is one Terry Casey knows like the back of his hand. Casey is the general manager of North Shore Roofing, Ltd., headquartered in Paradise, Newfoundland. Its parent company, Atlantic Roofers, Ltd., headquartered in Cocagne, New Brunswick, has been in business for 42 years. The Newfoundland branch was established in 1992, adopting the name of North Shore Roofing.
North Shore Roofing specializes in low-slope roof systems, both new construction and retrofit. “Primarily our business is two-ply modified bitumen systems, single-ply membranes — TPO, EPDM, PVC — and the occasional roof coating,” Casey notes. “We will travel all over the province, but our dominant market is the metropolitan St. John’s area.”
Brookside Intermediate School was one of a number of new construction projects initiated by the government in the past three years that the company has worked on. “This was a brand-new school put out to tender by the government of Newfoundland and Labrador,” Casey says. “We were the low bidder to Marco Services, who was the general contractor.”
Casey believes durability was a key consideration in the roof system specified, which has been a staple on government projects. “The government of Newfoundland has a standard roofing spec, and this is the system that was specified,” he says. “In this one, we chose to go with IKO.”
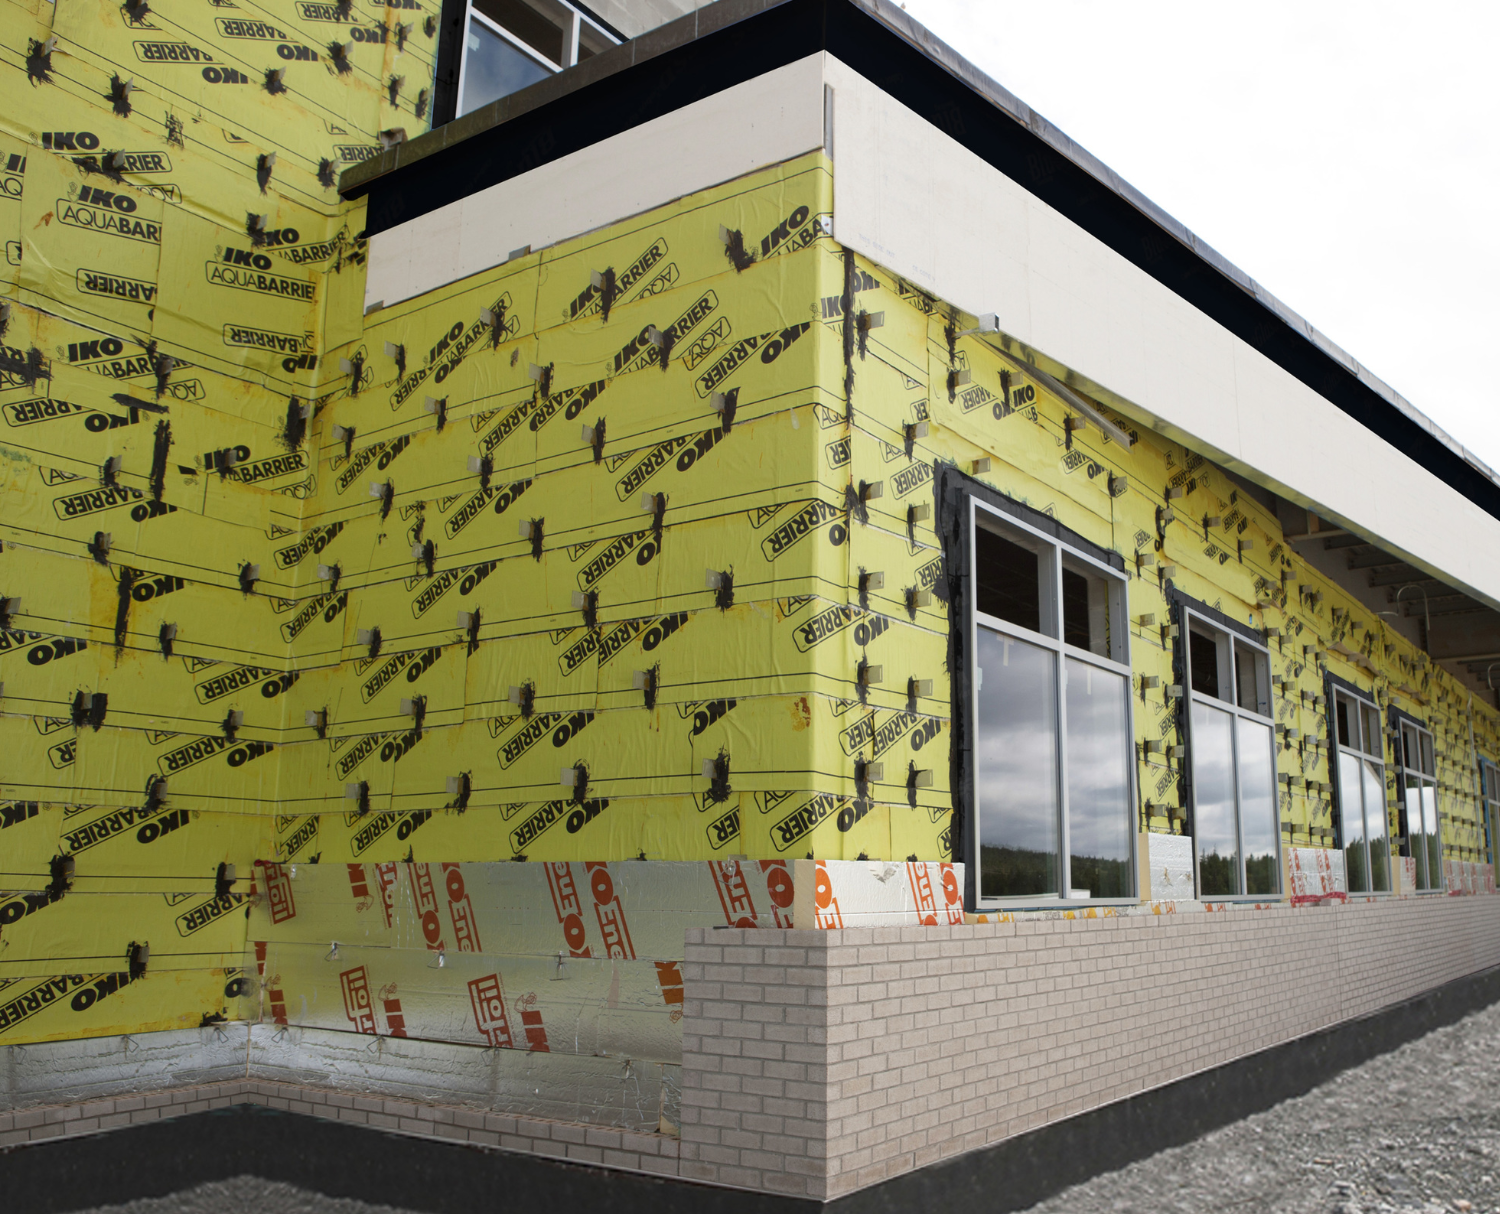
The wall system incorporates IKO Enerfoil Insulation, which was utilized as the masonry cavity wall insulation due to its high R-value per inch and weather-resistant aluminum facers. Photos: IKO
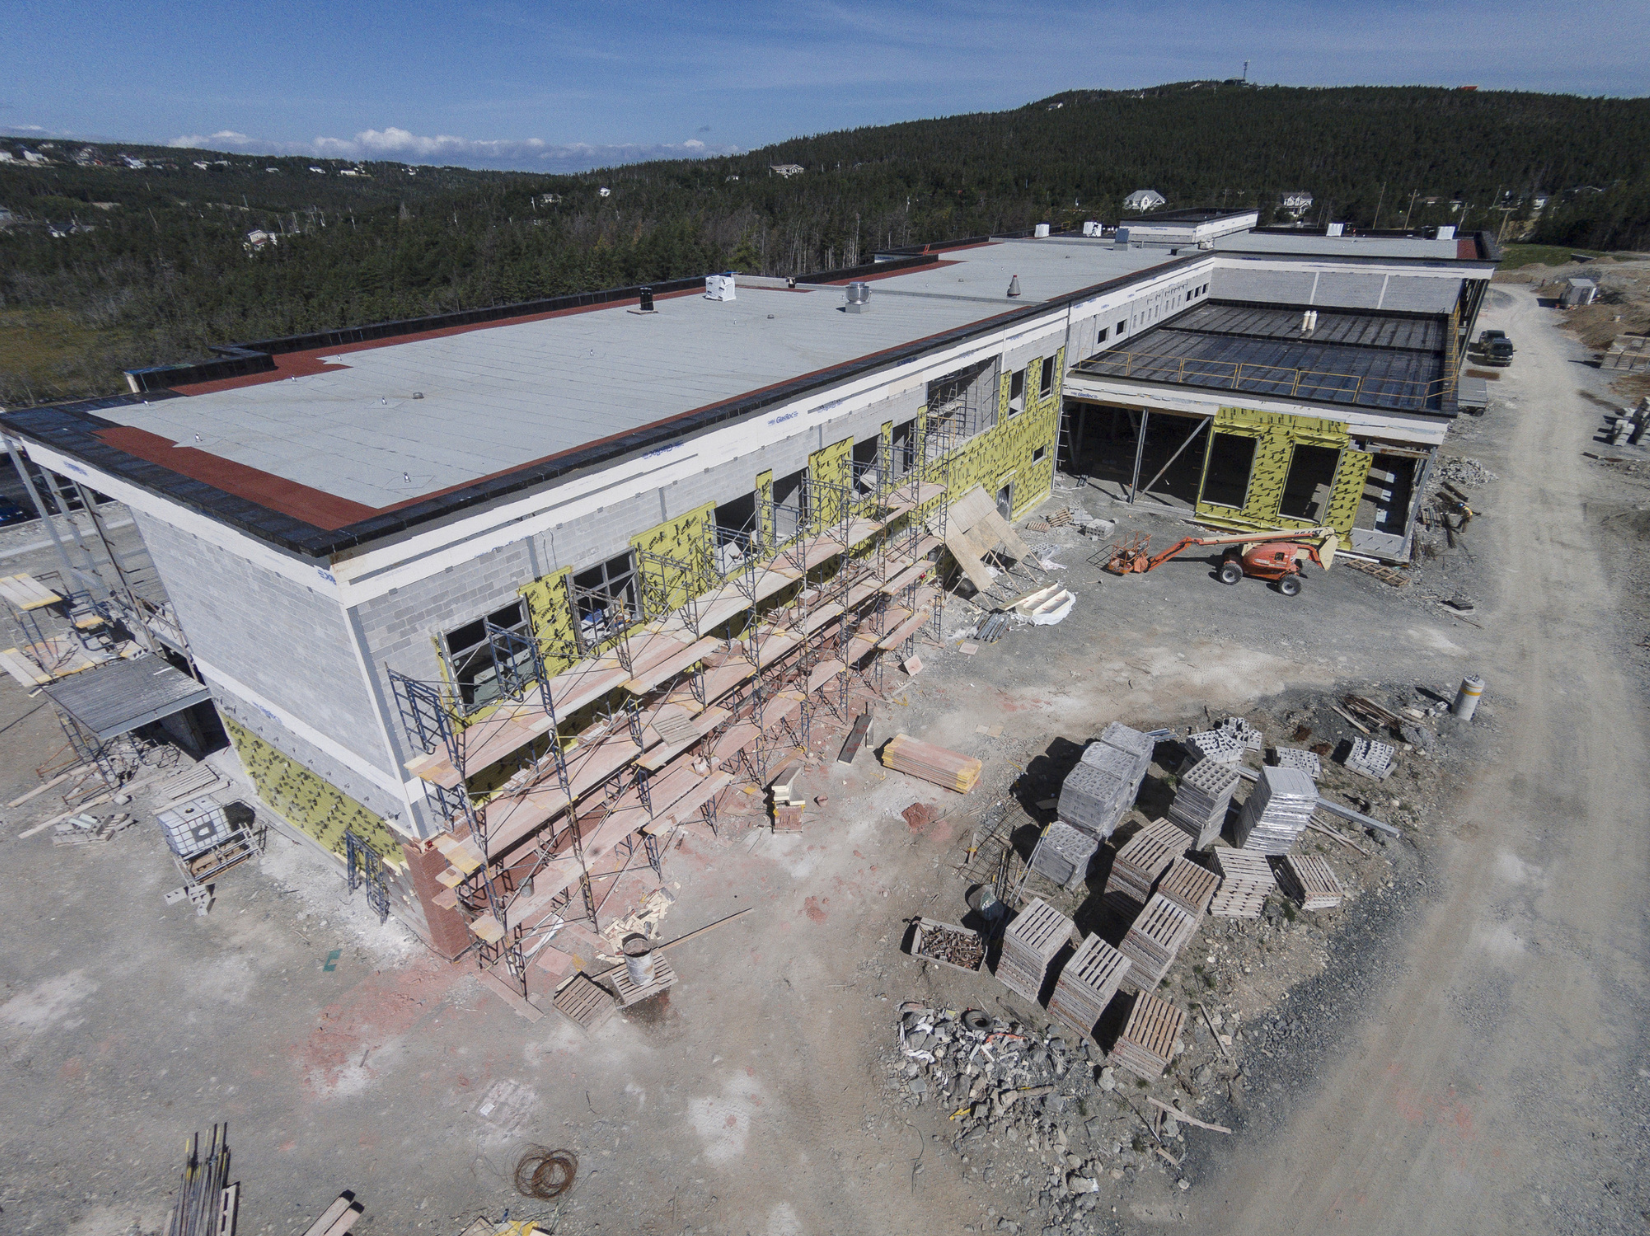
The IKO two-ply modified roof system was primarily installed over a steel deck, which was topped with 1/2-inch DensDeck Prime cover board, a vapor barrier, tapered extruded polystyrene (EPS) insulation, 2 inches of IKOtherm polyisocyanurate insulation, and a 6-millimeter protective board. The two-ply IKO SBS modified system was then torched down. The TorchFlex TP-180-FF base sheet was torched to the protective board, and the TorchFlex TP-250 cap sheet was torched to the base sheet. “The EPS was adhered to the vapor barrier with IKO Millennium adhesive,” Casey explains. “The same adhesive was used to adhere the 2 inches of polyisocyanurate insulation to the EPS.”
One 12,000-square-foot section of the roof was covered with a concrete deck, which was designed to allow another story to be added to the building in case of future expansion. In this section a TorchFlex base sheet was installed to serve as a vapor barrier. North Shore also installed permanent fall arrest anchors — a feature Casey would like to see replicated more often. “I wish every project was like it,” he says.
IKO also supplied the wall systems on the project, which were installed by Reddick Brothers Masonry.
Smooth Installation
As sections of the deck were put in place, North Shore Roofing sprang into action. “We made the building watertight with the DensDeck and vapor barrier so that the general contractor could continue on with construction inside the building,” Casey says. “We did that over the entire roof area before we installed the rest of the system.”
Work began on the concrete section first, and as the spring weather improved, the roofing work began in earnest. “Once the vapor barrier was on, each section of the roof had a plan for the tapered insulation,” says Casey. “We put the pieces together like a puzzle so that the drainage was 2 percent slope to the roof drains to avoid any ponding water.”
The new Brookside Intermediate School in Portugal Cove-St. Philips, Newfoundland and Labrador, Canada, is a $24 million project. The durability of the roof system was a key consideration, and the government specified a two-ply modified bitumen system. Photos: IKO
Tapered insulation was installed to meet the design for four-way positive drainage. Casey explains that staging the area properly can make installation much more efficient. “There’s a bit of skill involved in that your foreman has to know where and when each piece has to be put in place,” he notes. “Your materials have to be placed on the roof so you’re not chasing the product all over the place. You have to make sure everything is up on the roof in the right spot to maximize your labor on the job.”
After the rest of the insulation and protection board were in place, the base sheet was torched directly to the protection board. “The membrane sheets have to be sealed to the board you’re torching to as well as sealed to one another,” Casey says. “You want to make sure you have a good bleed out of bitumen to ensure the membranes have been bonded together to form one monolithic sheet, if you will.”
Once the base sheet is installed, all of the details are flashed, so North Shore crews made sure all of the penetrations were completed before installing the cap sheet. “Once all your base sheet is installed, any projections going through the roof — your exhaust fans, air conditioning units, plumbing stacks and fall arrest anchors — they are all installed before the cap sheet is installed. Once your finished cap sheet is on it should look like everything was all is place and ready to go. You don’t want to be doing patchwork afterward.”
When installing the gray cap sheet, care must be taken to make sure the application is aesthetically pleasing. With contrast between the black bitumen and the gray top sheet, the goal is to be consistent and clean with your bleed out. “There was uniformity in our bleed out, so when you’re looking over the laps, it looks like it’s one long, continuous sheet,” he says. “When you’re looking against the laps, you can see the bleed out, but as long as it’s a consistent bleed out, it looks very neat. The boys do a great job of doing that.”
The skill of the crew is the key to a successful torch application, according to Casey. “It’s got everything to do with experience,” he says. “With anybody that’s doing this for the first time, you’re going to have areas where there’s no bleed out, and areas where there’s too much bleed out. When you’re doing this consistently and you’re doing it well, you’ll typically have right around 1/4 inch.”
Before the cap sheet was installed, permanent roof anchors from Thaler Metals were installed. “There is a square plate with four bolts that go down through the roof, and there is another plate that goes on the underside of the deck,” Casey says.
Because the permanent anchors were installed near the end of the project, the safety plan featured safety rails and temporary anchor points. Crews installed the safety rails on top of the parapets and had the system inspected by OSHA. For areas in which the railings could not be installed, crews tied off to temporary, removable and reusable roof anchors, also manufactured by Thaler.
Penetrations were flashed at the base sheet stage and again at the cap sheet stage per the manufacturer’s specifications. “All of the manufacturers, including IKO, have specific detailing for many, many types of penetrations going through the roof,” Casey says.
The installation process, led by foreman Shawn Higdon, went very smoothly. The jobsite was easily accessible and the weather posed no big problems. “This one was pretty wide open,” Casey says. “It’s a fairly large school with multiple roof areas. There were very few times where somebody was in our way or we were waiting for somebody. Change orders for other trades created some minor problems, but nothing serious.”
Juggling crews as the work progressed was perhaps the toughest part of the project, according to Casey. “Labor is always a challenge,” he says. “We had to move people from one job to the next job because everything wasn’t ready for us at one time. Moving back and forth from project to project was probably the most challenging thing on that job.”
TEAM
Architect: Fougere Menchenton Architecture, St. John’s, Newfoundland, www.fougeremenchenton.ca
General Contractor: Marco Services, St. John’s, Newfoundland, www.marcogroup.ca
Roofing Contractor: North Shore Roofing, Ltd., Paradise, Newfoundland
Wall System Installer: Reddick Brothers Masonry, Church Point, Nova Scotia
MATERIALS
Roof System
Modified Bitumen Membrane: TorchFlex TP-180-FF base sheet, TorchFlex TP-250 cap sheet, IKO, www.iko.com
Protection Board: Protectoboard, IKO
Insulation: IKOtherm, IKO
Vapor Barrier: MVP Vapour Retarder, IKO
Adhesive: Millennium Adhesive, IKO
Cover Board: 1/2-inch DensDeck Prime, Georgia-Pacific, www.densdeck.com
Roof Anchors: Thaler Metal, www.thalermetal.com
Wall System
Vapor Barrier: AquaBarrier, IKO
Insulation: Enerfoil, IKO

Be the first to comment on "Roof System Helps School Stand Up to Severe North Atlantic Weather"