
By following installation guidelines, contractors can produce a more professional-looking roof that will be far less likely to experience problems a year, two years, or even 10 years down the road.
A roof that isn’t installed precisely the way it was intended can be both unattractive and incapable of standing up to extreme weather conditions. On a laminate shingle roof, overlooking seemingly small details, such as shingle alignment and nailing, can lead to serious problems. Here are some of the most common details that, when improperly executed, can have negative consequences later in the installation or after completion of the roof:
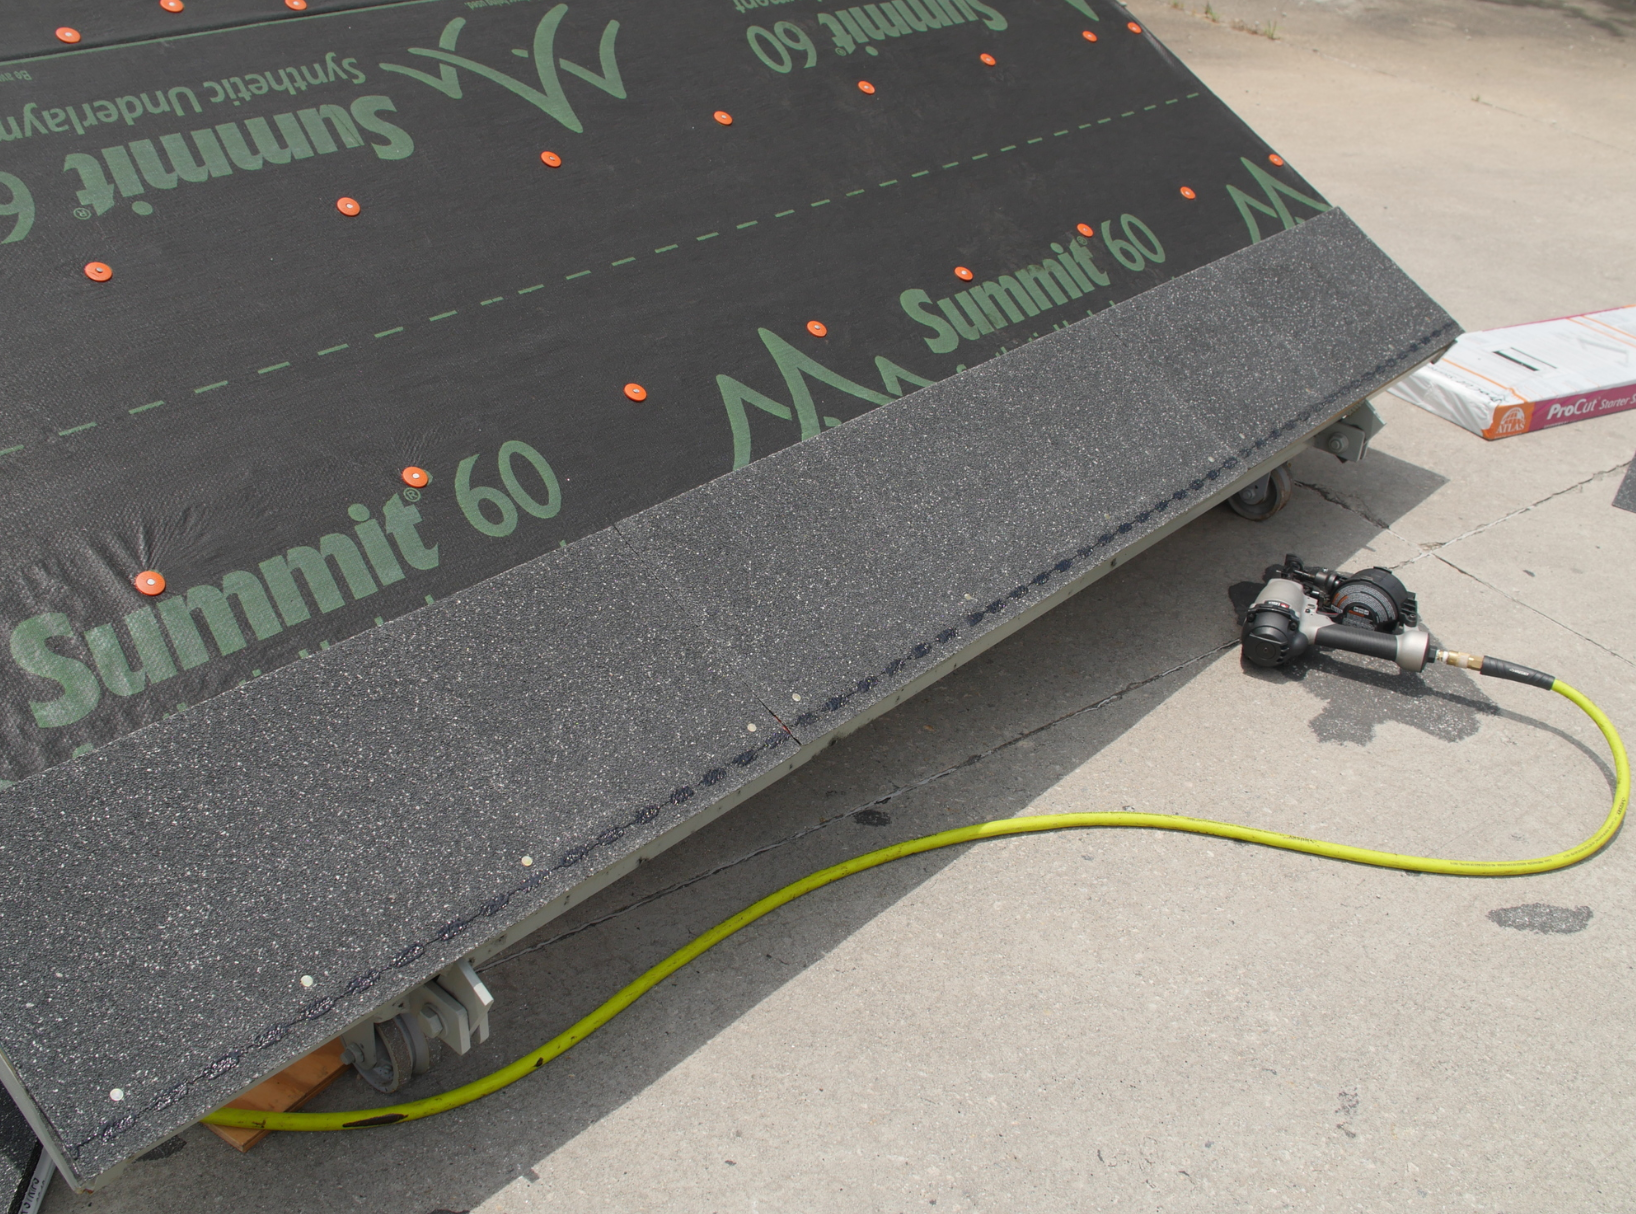
- No Starter Shingles/Improper Alignment of Shingles at Eave and Rake

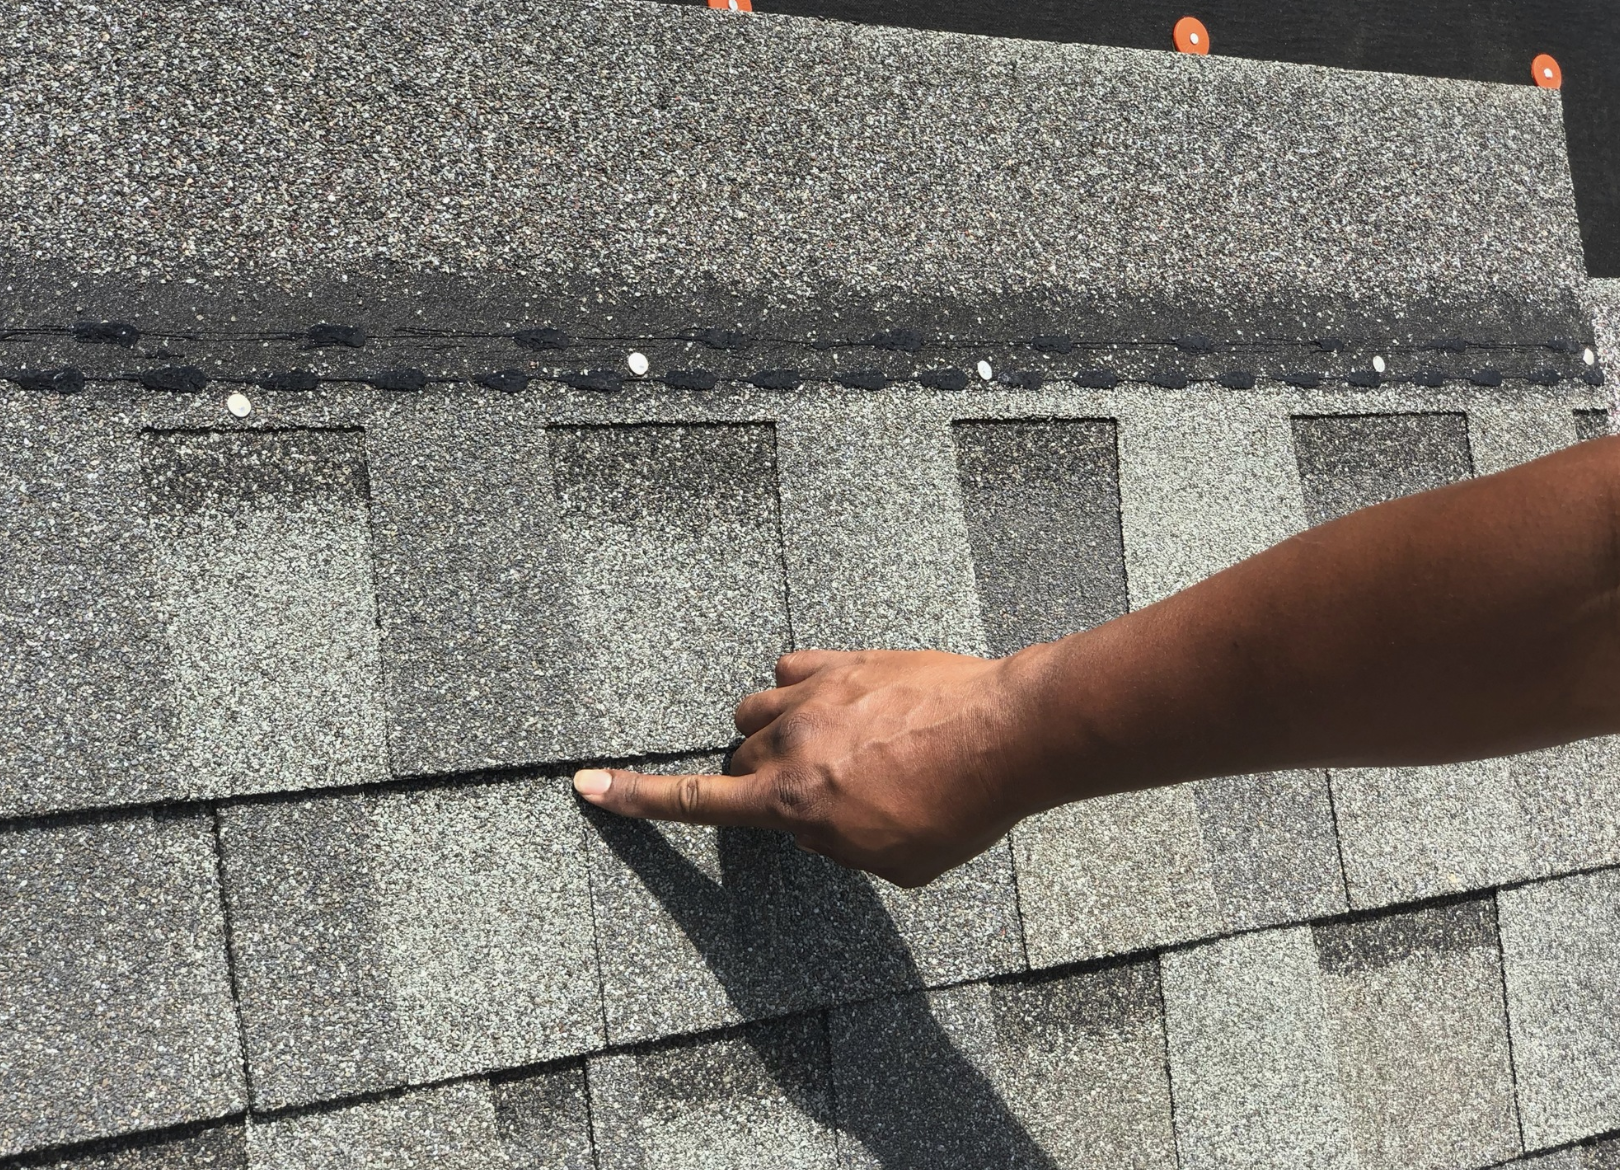
CORRECT: This photo shows the starter shingle being installed correctly. Proper alignment is crucial when installing the starter shingles. Photos: Atlas Roofing
The starter shingle’s two purposes are water protection and wind protection at the eave and rake. A starter shingle is used to seal with the field shingle at the first course along the eave and rake. This helps prevent wind and water from getting beneath the shingle in this critical location. The underlayment is a secondary water barrier if any moisture gets beneath the shingles.
Starter shingles are installed so they overhang the edge of the eaves slightly to allow for water runoff. Then a course of shingles is installed on top of the starter shingles, forming a front line of defense for blow-offs and water damage.
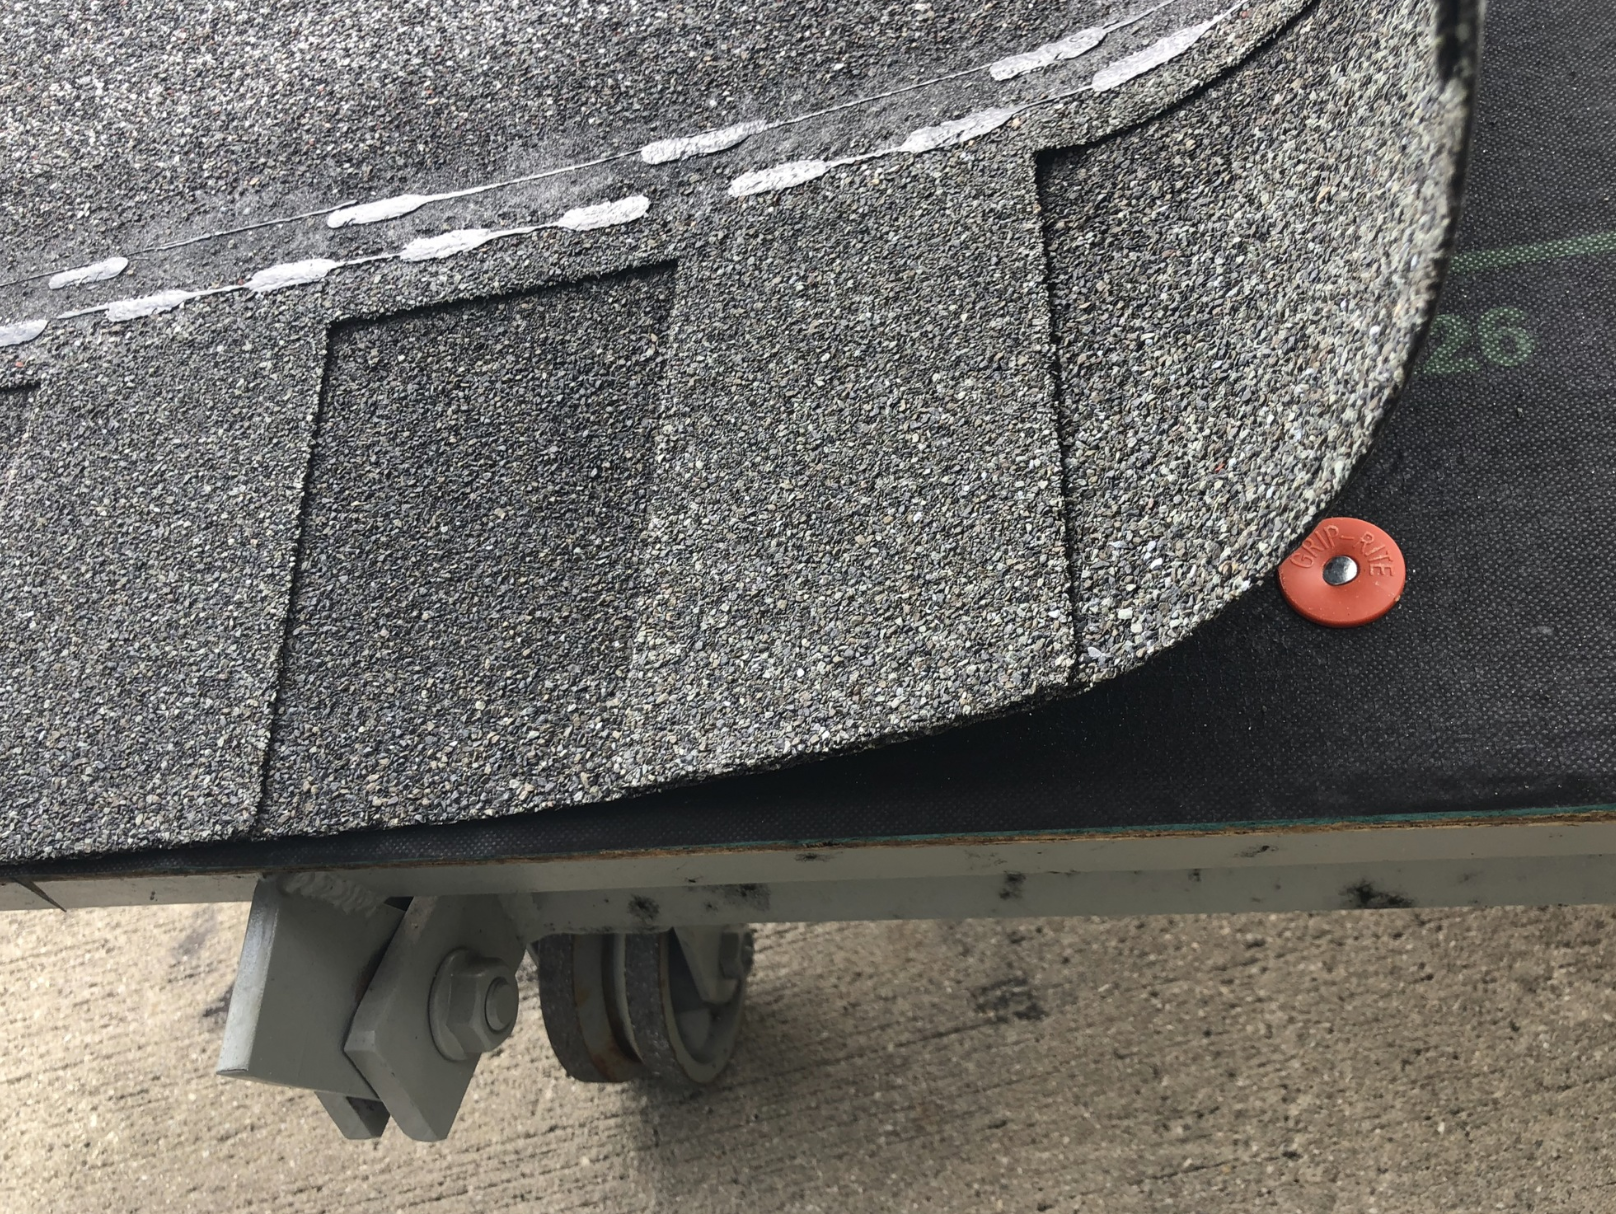
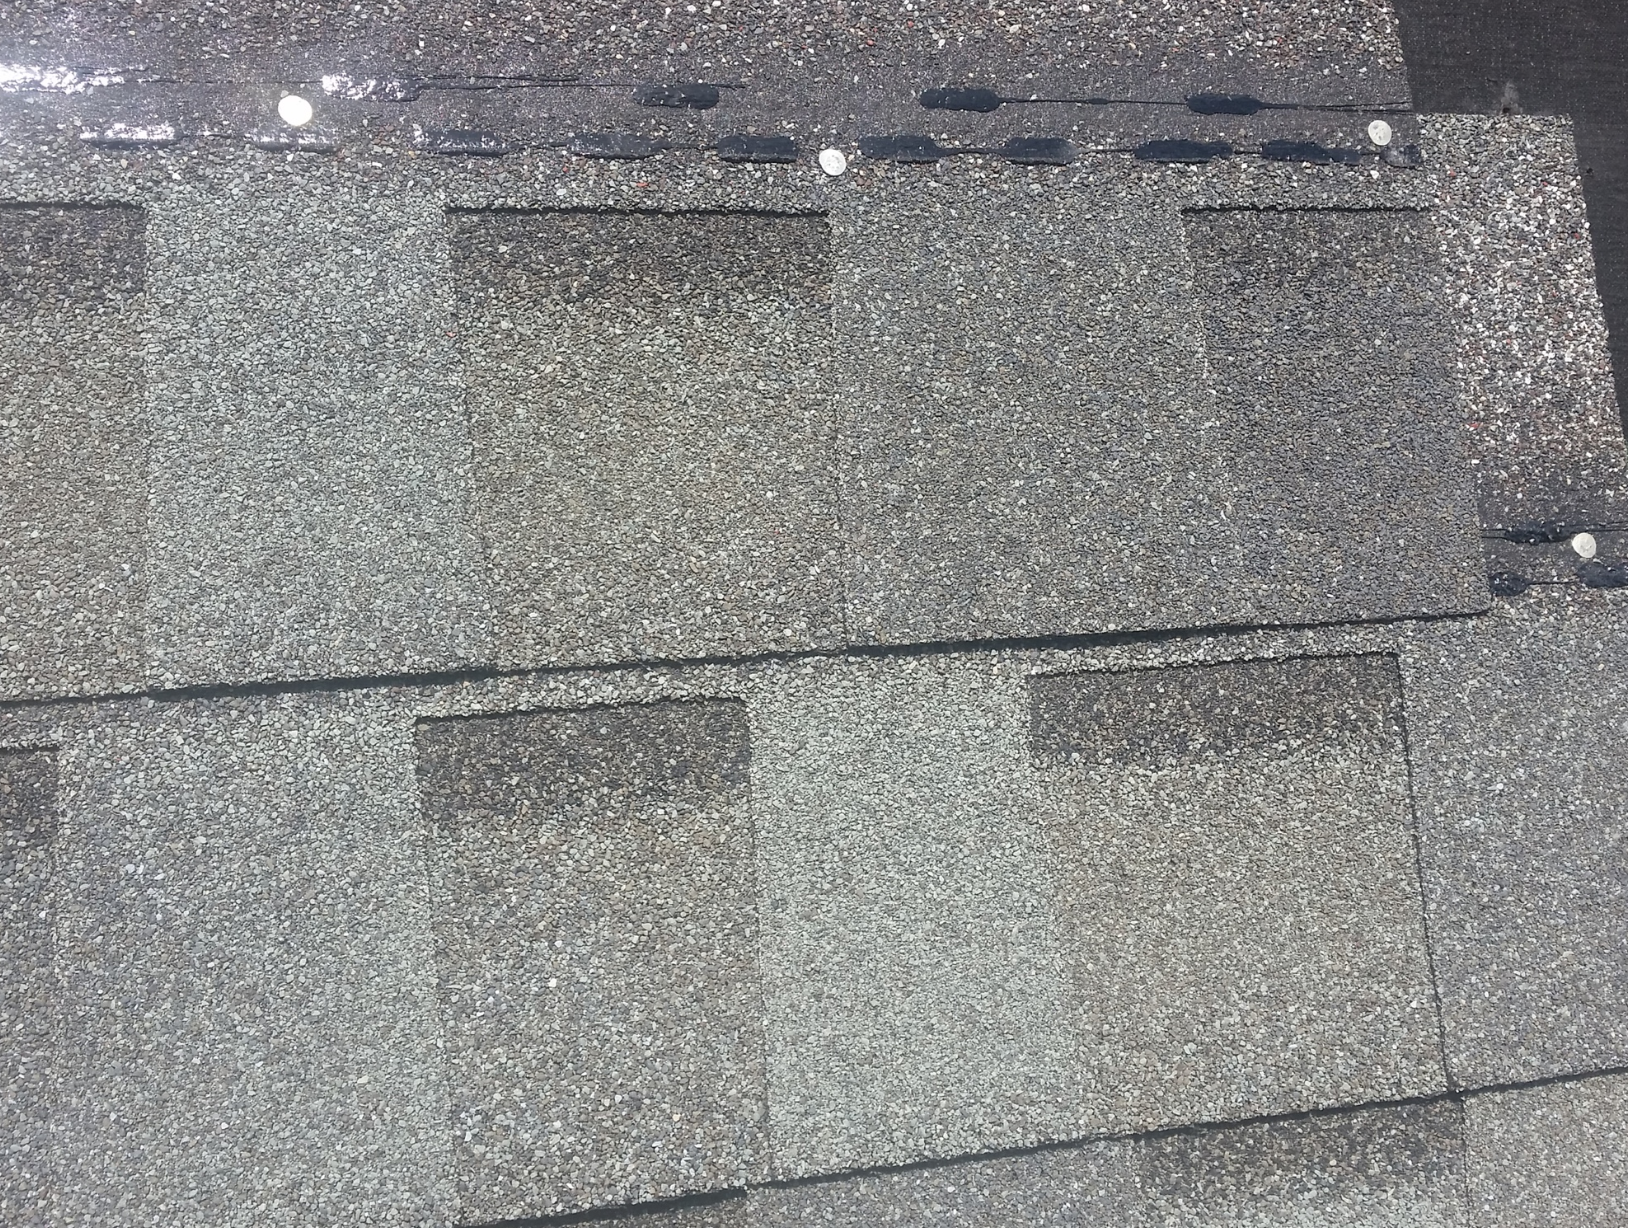
INCORRECT: When starter shingles are not installed, water channels can form where the shingles align across the first course. Photos: Atlas Roofing
When roofers don’t use starter shingles and install the first course of shingles directly onto the eave or rake, water channels can form where the shingles align across the first course. Moisture can then come into direct contact with the roof deck. Shingles farther up the roof are protected by the courses beneath them, which catch and divert any water that happens to drip between the edges. The first course of shingles needs the same defense from the elements.
Tip: Proper alignment is important when installing both the starter shingles and the first course of shingles. If the starter shingles are not secured correctly at the eave or rake, and the first course of shingles is not nailed down evenly across the top of the starter shingles, the roof may be at risk for wind and/or water damage.
Manufacturer’s guidelines for the proper overhang spacing at the drip edge or rake should be followed precisely. If the starter shingle overhangs the eave too much, a gust of strong wind may lift the shingles and cause a blow-off.
- Improper Nailing
The obvious purpose of proper nailing is to ensure that shingles stay in place and don’t cause leaks. Local building
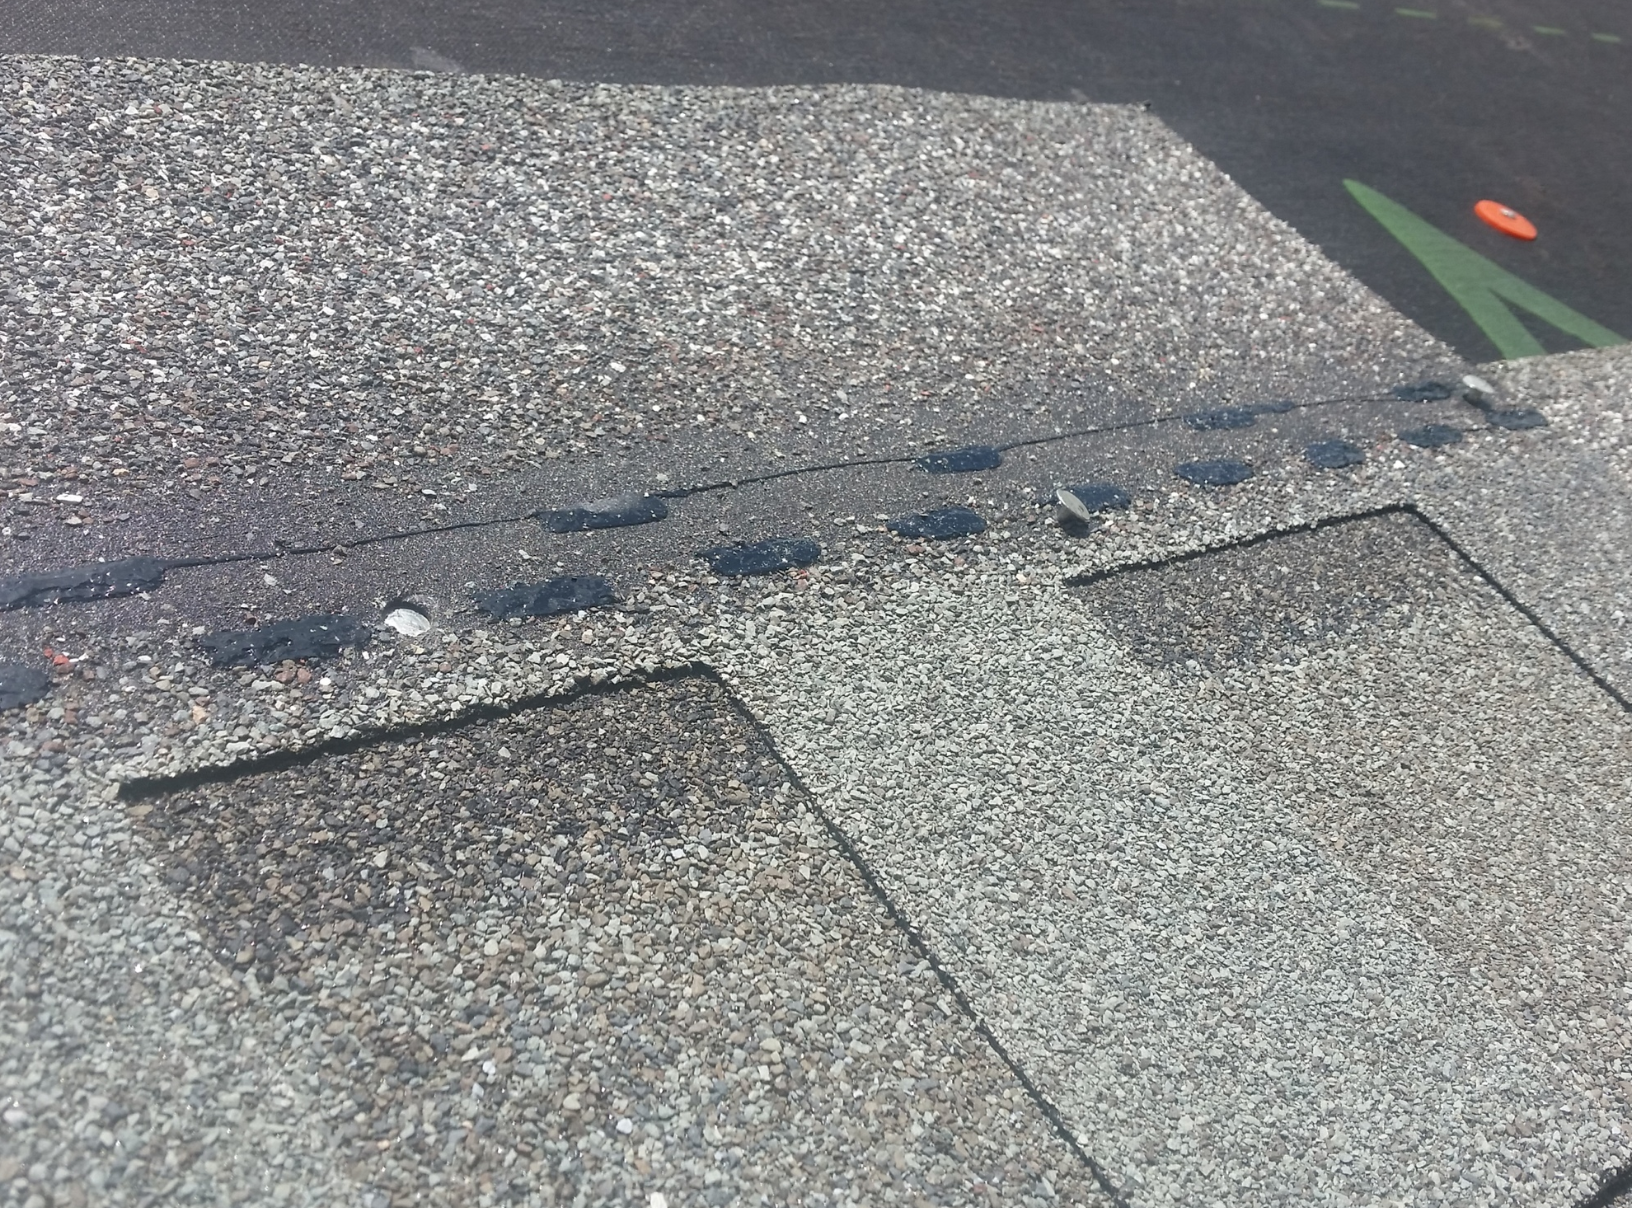
INCORRECT: Nail heads should be flush with the top of the shingle. All three of the nails in this photo are incorrectly installed. The nail on the left is over-driven, the middle nail is at the wrong angle, and the one on the right is under-driven. Photos: Atlas Roofing
codes and manufacturers’ instructions give roofing contractors the directions they need to fasten the shingles properly to the roof deck. Guidelines specify the number of nails per shingle and where the nails should be placed.
In laminate shingles, the nailing zone is referred to as the “common bond” area of the shingle. The “common bond” area includes the double-layer portion of the shingle down to the exposure and constitutes the proper nailing area as identified in laminate shingle installation instructions. The “common bond” nailing area must be targeted correctly in order to obtain the proper wind performance as advertised by the shingle manufacturer. Properly
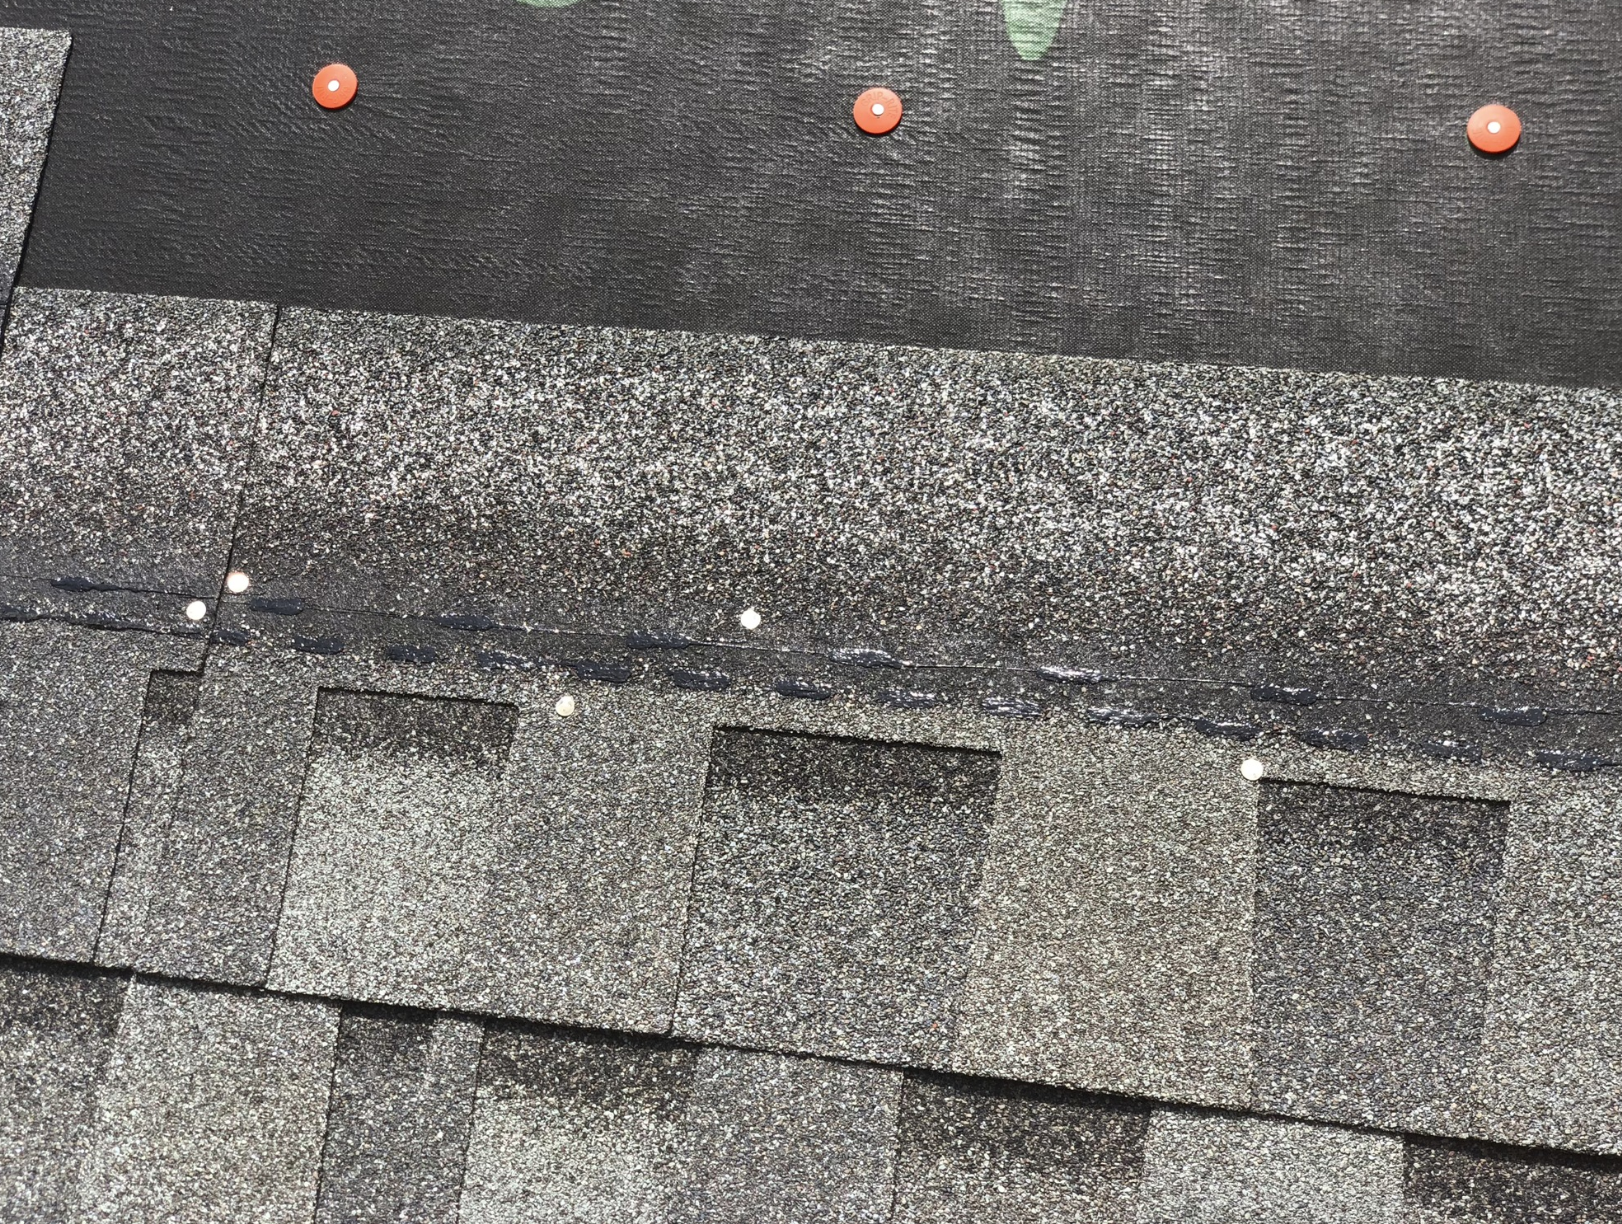
INCORRECT: The nailing area must be targeted correctly in order to obtain the proper wind performance. In this photo, nails are improperly placed both above and below the common bond area. Photos: Atlas Roofing
placed nails go through two layers of shingles – penetrating through the previous shingle course underneath – attaching them securely to the roof deck. Nails placed outside the common bond area can void the roof’s warranty and prevent asphalt shingles from performing as intended during extreme weather.
Tip: Pneumatic nail guns are popular among many roofers. The pressure on the gun should be set correctly before use. Nail heads should be flush with the top of the shingle. If the pressure is set too high, the gun will overdrive the shingle, causing it to sink into the mat. Too low, and nails will be under-driven, meaning they will stick out above the top of the shingle. Incorrect pressure can also cause nails to be driven in diagonally.
Wind and wind-driven rain can lift improperly nailed shingles and cause water damage to the roof and possibly blow-offs. Using either too many or not enough nails can weaken the shingle’s performance, which can also result in blow-offs.
Finally, roofers who prefer hammers should be skilled enough to drive nails consistently into shingles at the right angle, not over- or under-drive them.
- Improper Shingle Alignment
Roof shingles are intended to be precisely aligned, both vertically and horizontally. Roofers lay out each course of
INCORRECT: Proper alignment of the shingles is crucial. In this photo, the top shingle has been placed too high. Photos: Atlas Roofing
shingles in a staggered, stepped pattern (think of a brick wall). The shingle edges of one course must be offset from the shingles below. Edges lined up with each other would allow water to seep through to the roof deck.
INCORRECT: The shingle at the top of this photo has been placed too low. Photos: Atlas Roofing
Installing shingles too high or too low compared to the previous course can affect the exposure, which in turn would affect the aesthetics, wind performance and seal strength of the roof. An improperly aligned shingle course would be very noticeable and have a wavy appearance that is unattractive and amateurish.
Tip: Manufacturer’s instructions for proper shingle alignment are printed on the shingle wrapper.
Eliminating Problems Pays Big Dividends
Roofers who are careful to avoid these mistakes can avoid unintended problems after installation. Using a starter shingle at the eaves and rakes can ensure that the installation is off to a good start. Paying attention to proper nailing and nail placement within the common bond area on all courses all the way up to the ridge can optimize the roof’s performance against wind and rain. Finally, carefully aligning each course of shingles both vertically and horizontally will give the finished roof a professional appearance and help to improve the homeowner’s curb appeal.


Be the first to comment on "Three Shingle Installation Mistakes That Cause Major Problems"