
Shading and shelter from the elements are the primary functions of canopy systems, but when designed and installed correctly, they can achieve greater benefits and value for both owners and occupants.
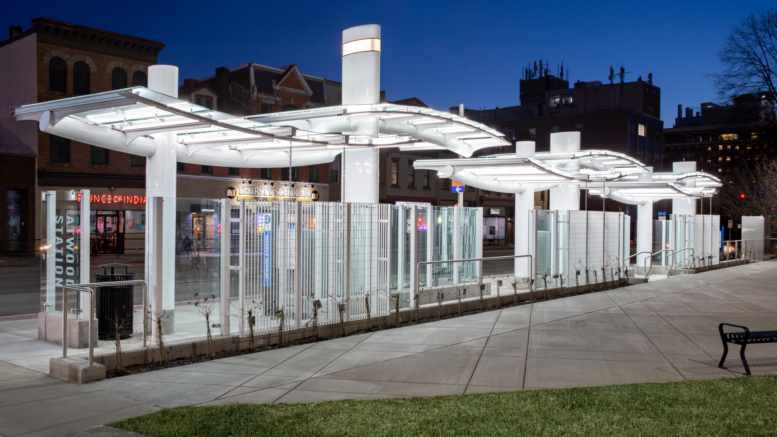
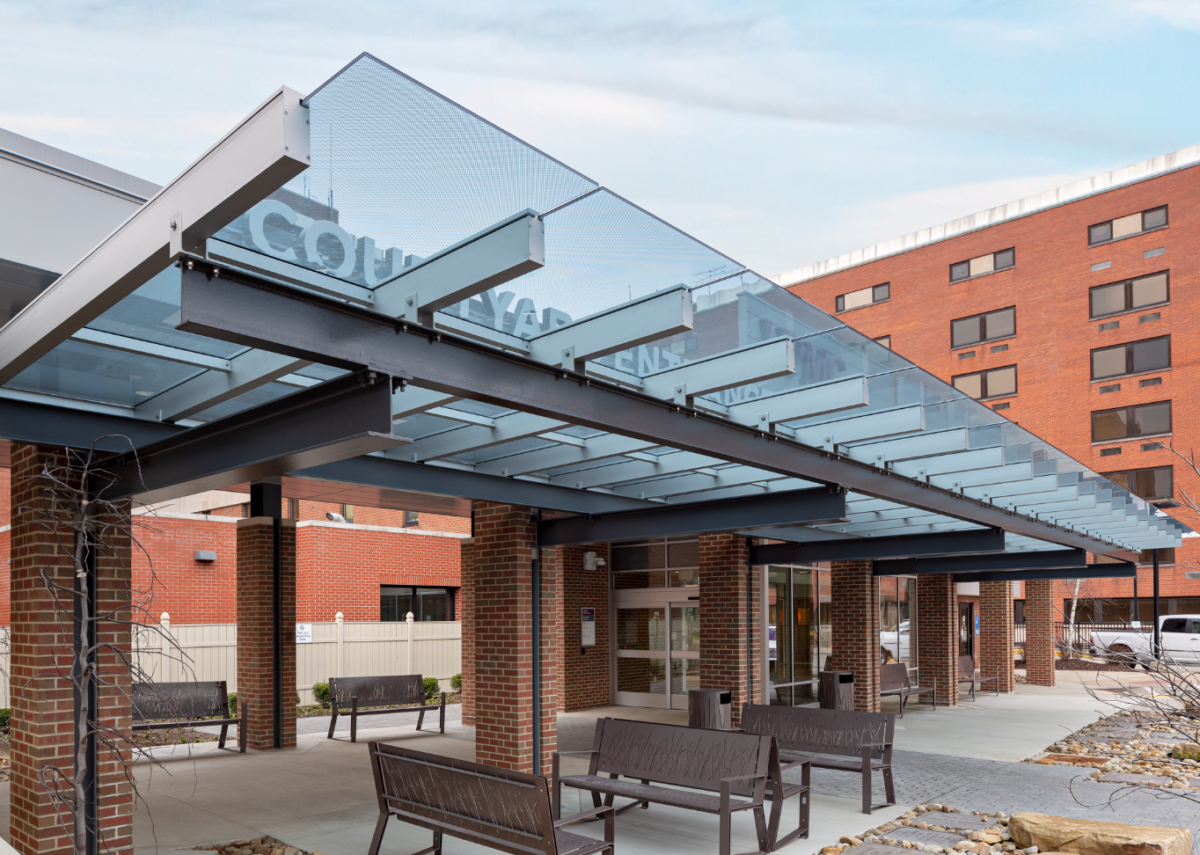
Attached to a building, canopies typically define entrances or communal spaces. Stand-alone canopy structures commonly are seen in transit applications, such as bus and train stations. Integrated into landscape and wayfinding designs, canopy structures cover walkways, points of interest and gathering spots. Both attached and freestanding canopies expand usable outdoor space, enhancing a property’s appeal.
Attached canopies are supported by the building, while freestanding canopies require a steel column structure. For all applications, extruded aluminum is the standard material for the canopy’s framing members. Aluminum is lightweight, which makes it convenient for shipping, handling and installing. It can be manufactured from recycled sources, painted in an unlimited palette of colors and specialty finishes, fabricated into any size or geometric shape, or formed into curves and barrel-vaulted designs.
Whether the canopy is attached or stand-alone, the roof panels’ installation and material composition determines the amount of shading and light transmission. Panels may be installed with an open break between them or without separation in a continuous span. Material choices range from opaque metal to transparent glass to translucent cellular polycarbonate glazing panels.
Shading and Daylighting
To maximize shading, panels are often made from aluminum for the same reasons the metal is used in the framing system — ease of fabrication and installation, design flexibility, durability, longevity and recyclability. When canopies are intended to enhance daylighting strategies, metal panels may be sparingly used or strategically placed.
If daylighting with full transparency is the intention, then glass is the material of choice. To balance shading and daylighting with the comfort of the occupants below, glass or polycarbonate glazing panels offer a low light transmission. This presents a translucent appearance and diffuses the light to reduce glare during the day.
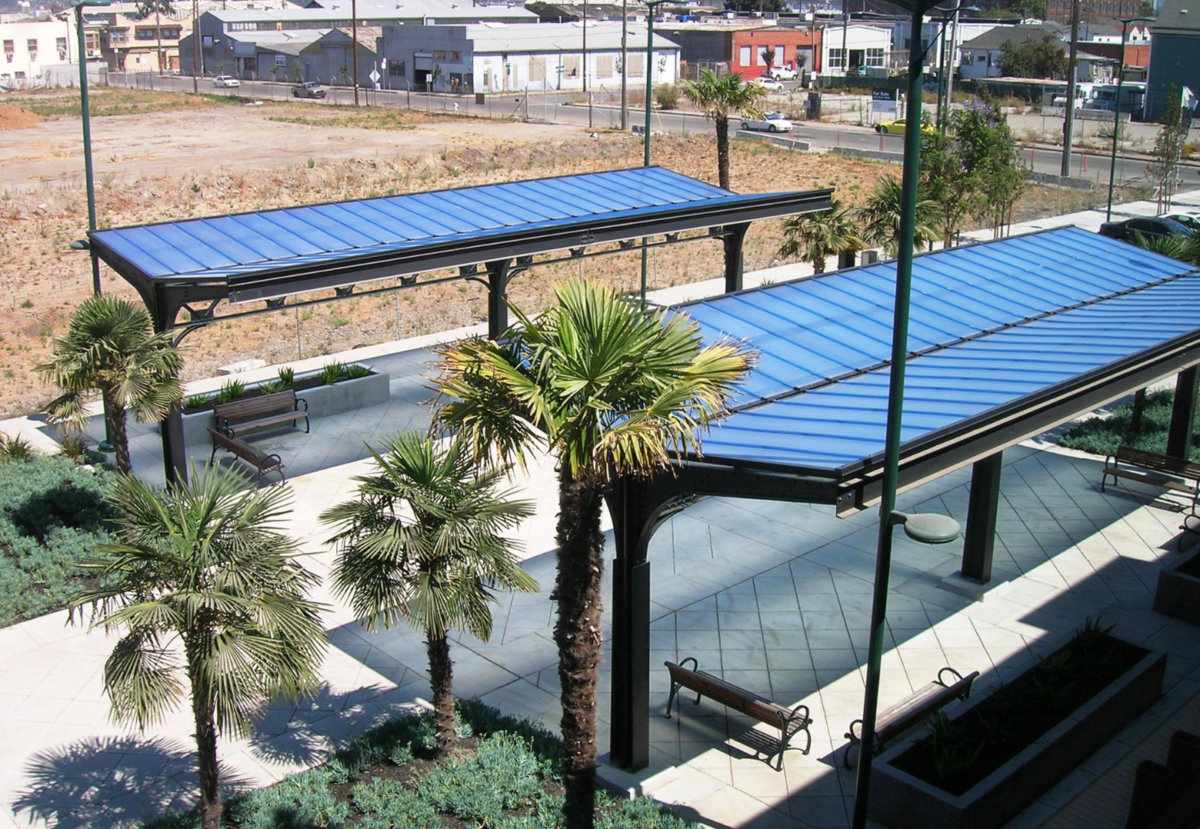
Glass can be printed and screened with patterns or tinted. Polycarbonate also can be specified in a range of colors and with a light transmittance range of approximately 45-70 percent. Opal-colored cellular polycarbonate glazing provides high diffusion, evenly distributed light, and an appearance often preferred by architects.
Added Benefits
Coatings also improve performance. Anti-reflecting, low-emissivity and infrared (IR) blocking for solar reduction are popular coating options for glazing. Polycarbonate panels co-extruded with a UV-resistant layer also prevent the material from yellowing and deteriorating from the sun.
With glass, shattering remains a top concern. Polycarbonate is 250 times more impact resistant than an equivalent thickness of annealed glass. Monolithic polycarbonate canopy systems can be used to mimic the appearance of glass.
Impact- and vandal-resistance are priority performance criteria for canopy structures in high-traffic areas. For high-traffic, high-touch surfaces with a durable, low-maintenance finish, optional metal column covers and cladding also can be incorporated into the freestanding structure.
Installing metal end caps for the canopy presents a neat appearance and minimizes maintenance. Compared with open ends or plastic caps, metal caps secure the battens, and help keep out dirt, debris, insects and wildlife.
At the end of their life in the canopy system, metal and glazing components can be recycled and repurposed.
Shelter From the Elements
Along with providing shading and daylighting, most canopy systems also serve to provide temporary shelter from the rain. Helping keep people dry, some canopies feature rafters engineered with an internal gutter system to capture and divert water run-off.
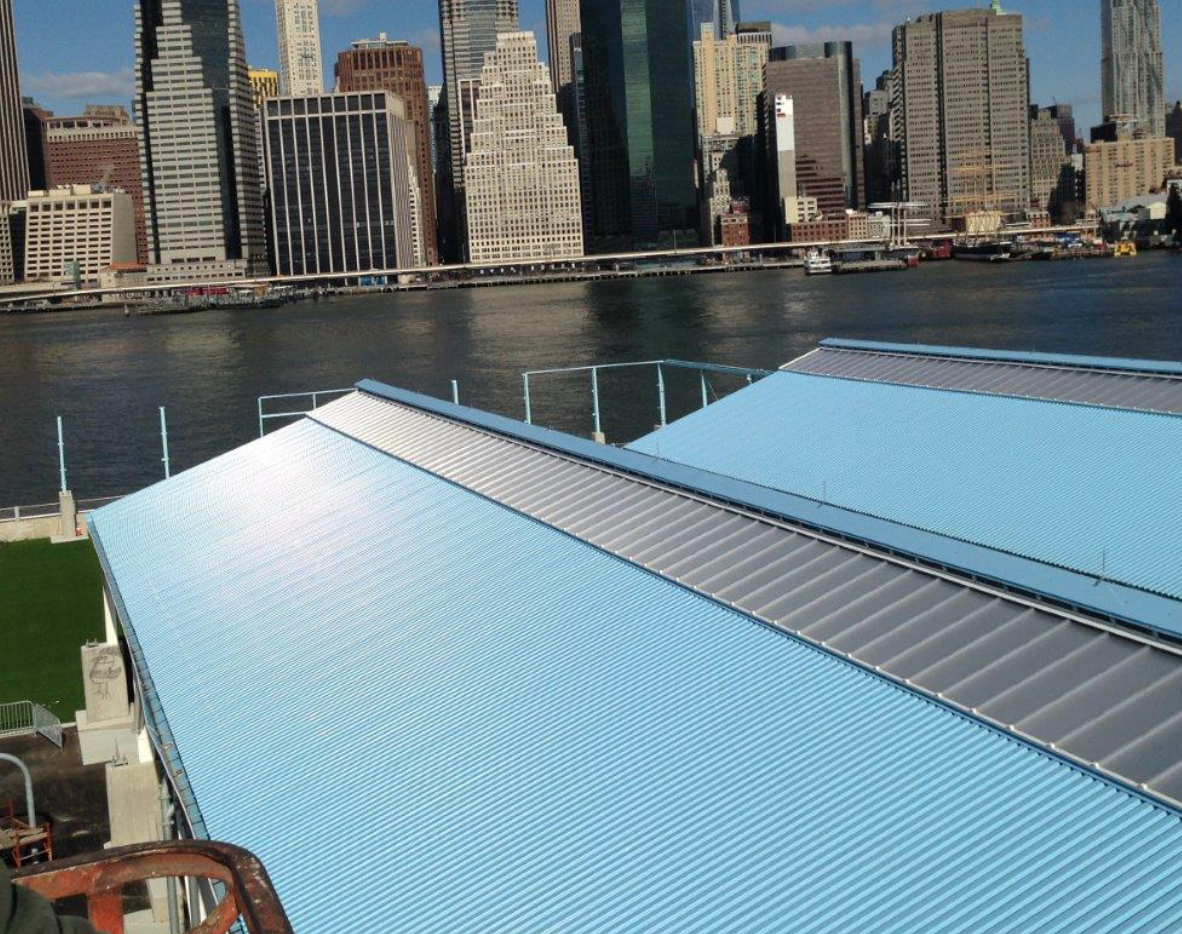
Keep in mind that for long-spanning canopy systems, larger panel sizes mean fewer joints, which results in fewer opportunities for leaks. While glass lite sizes are increasing, polycarbonate glazing panels are available in up to 54-foot lengths for continuous runs without intermediate horizontal mullions.
Standing-seam canopy roofs typically provide the most economical and effective option for long-span, high-load conditions. The panels are fabricated with legs and sealed together to form the seam with a batten and clamping mechanism.
Canopies also can be specified with snow and ice guards. These guards can be especially important in preventing heavy snow and ice sheets from falling.
Best Value
For the best value, select an experienced canopy manufacturer with a full range of capabilities to provide structural calculations, shop drawings, factory fabrication and installation instructions. The contractor and manufacturer should review the installation instructions together carefully in advance of the system arriving at the jobsite.
A manufacturer offering an all-in-one solution also can recommend installation methodologies and coordinate with experienced contractors to match a project’s schedule, budget and jobsite conditions. For complex canopy designs, consider having a manufacturer’s representative on site to assist. Discuss acceptable alternatives, such as factory-fabrication or temporary construction tents, to plan for weather complications and to avoid scheduling delays.
Remember that some canopy structures will require coordination across multiple trades, such as working with electrical contractors to integrate lighting displays or photovoltaic arrays. A collaborative approach led by a single designated contact will allow for a seamless chain of custody and a successful result supported by a comprehensive warranty.
About the author: Victoria Scanlon is the marketing manager at EXTECH/Exterior Technologies, Inc., where she leads the company’s communications. Headquartered in Pittsburgh, EXTECH manufactures and designs wall, window, skylight, canopy and custom façade systems. Scanlon is a graduate of California University of Pennsylvania. She can be reached at (800) 500-8083 or [email protected]. For more information, visit extechinc.com.
Sample Steps to Support a Successful Freestanding Canopy Installation
- Prepare for installation.
- Install perimeter flashing.
- Install the perimeter base extrusions.
- Fasten the first rafter to the perimeter extrusions.
- Set the second and third rafters in place by fastening each to the perimeter base extrusions.
- Fasten the remaining rafters to the perimeter framing, and then, if applicable, fasten them to the intermediate support structure.
- Install the starter panel between the first two rafters.
- Install the pressure caps over the glazed rafters.
- Note whether foam inserts or sealed joints are required.
- Install pressure caps prior to installing the next glazing panel.
- Repeat steps 5 through 8 to install the remainder of the glazing panels and pressure caps.
- Install the perimeter cover caps. Cap-seal all mitered corner joints
- Install gutters, downspouts and head flashing.
Always follow the manufacturer’s project-specific product installation instructions. Requirements and installation sequence can vary for each application.


Be the first to comment on "Canopy Structures Offer Shading, Shelter and More"