

If the question is “Should I provide ventilation on this steep-slope roof?” there is a simple, one-word answer: Yes. The problem with this answer is that it would make a very short article, and I am sure that is not what was expected. Let me explain!
Ventilation is required if you have unconditioned space, and it is that space that needs to be ventilated. In most commercial applications, you are dealing with a flat roof membrane over insulation installed directly over a metal deck. With no “attic” involved, there is no unconditioned space and, therefore, there is no space to ventilate. You still have to find a way to control the moisture, but this is accomplished through the use of mechanical air conditioning and heating units, and also through the introduction of outside air and air exchanges. For this article, I want to concentrate on a typical residential steep-slope application, and the basis for most normal houses all goes back to 1 John 1:1, which goes something like this: “Thou Shalt Ventilate.”
To help all of this make sense, it is important to define some terms I use. “Conditioned space” is anywhere in the house that we are attempting to control the temperature or humidity — the living space of the house. “Unconditioned space” refers to areas of the structure where we are not attempting to control the temperature or humidity — typically attics (although some attics are treated as conditioned spaces). Unconditioned spaces should be as close to the outside temperature and humidity as possible. To accomplish this, we would use vapor barriers, insulation, and ventilation. The insulation would be anything that would restrict the transfer of either heat or cold in either direction; the vapor barrier would be anything that stops the transfer of moisture between the hot and the cold areas; and ventilation would be the method by which we allow the hot or cold air to move between the inside of the unconditioned space and the outside atmosphere.
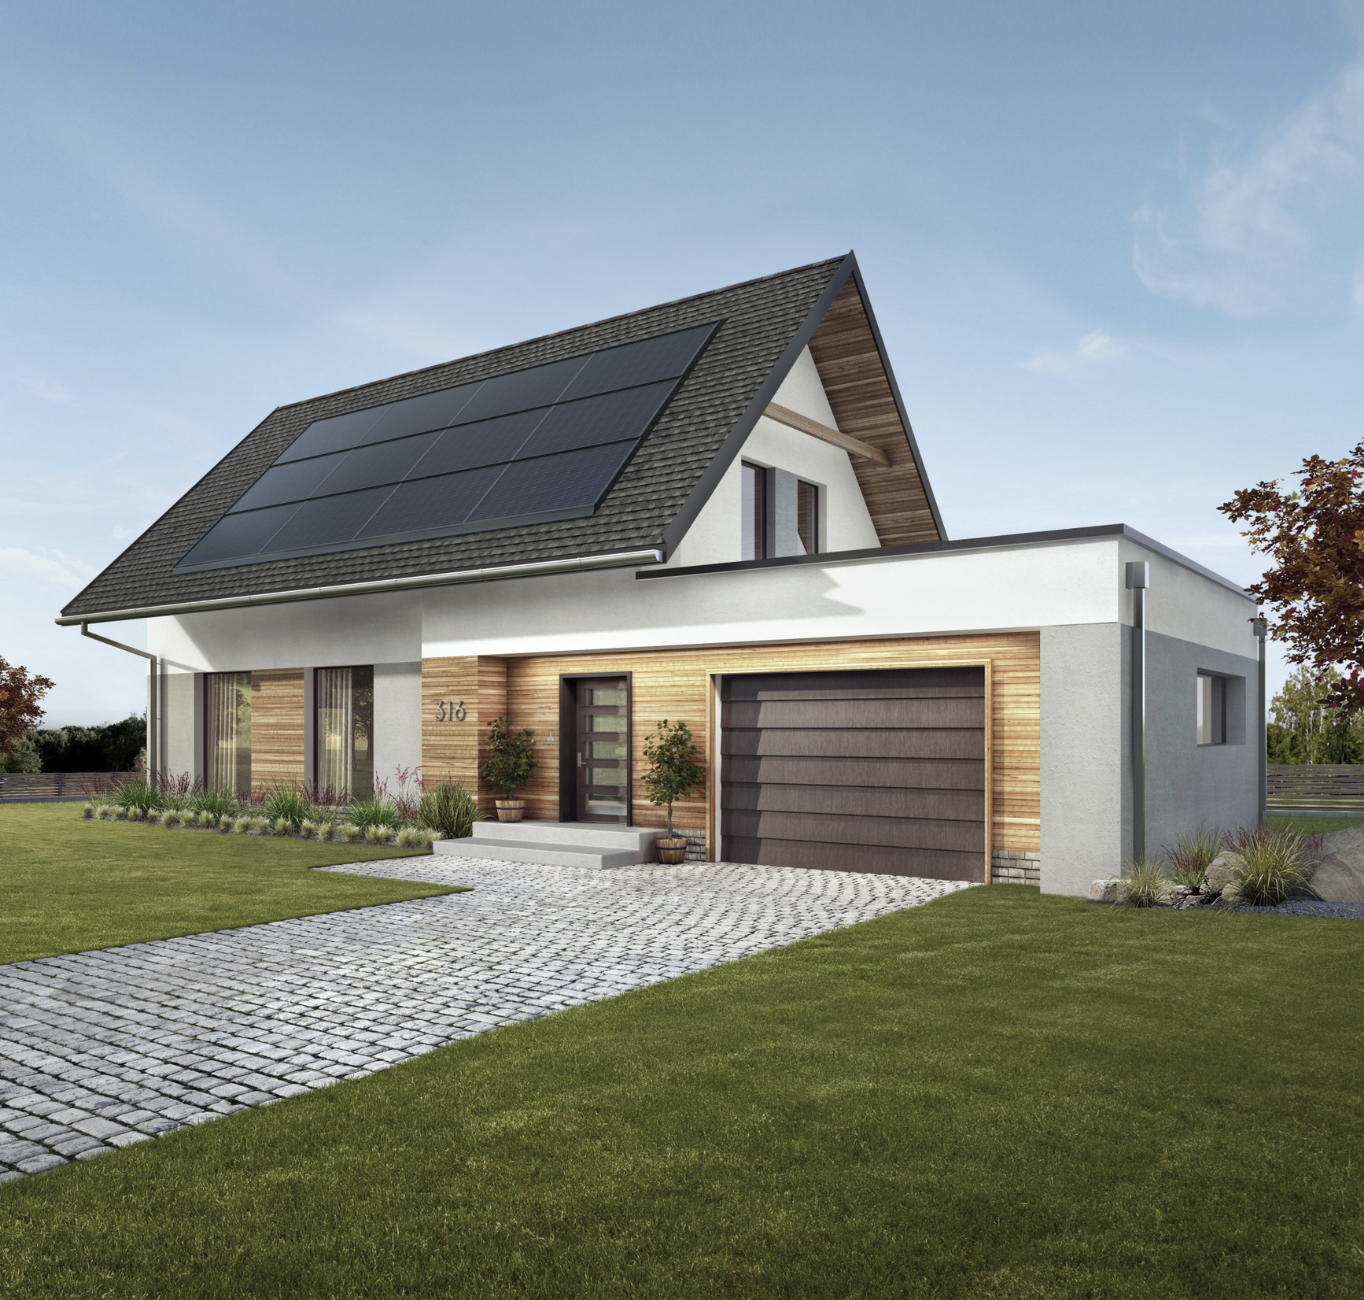
Current building codes and building technologies have improved the performance of homes greatly by making them able to “breathe” and at the same time resist that transfer of energy. Examples would include the newer thermo-pane windows with better weather stripping, and house wrap to stop the wind pressure from penetrating the house. There are also truss roof systems that incorporate high “energy heels” at the plate to allow insulation all the way out to the edge of the plate and still allow a 4 inch air space at the plate to allow the air to flow freely.
To make this all work, it is important to fully ventilate the soffit area, and to combine this with a system to get the air out of the attic space. This could include a ridge vent system, regular roof louvers, turbine vents or gable end vents. It is important to remember, however, that you cannot mix these vents. We need to understand that air is lazy and will always follow the path of least resistance. If we mix the different types of vents on the roof, the air will move from one to the other and short-circuit the airflow. For example, air might flow from a roof vent near the peak to the ridge vent just a couple of feet away, leaving the rest of the attic with no airflow. In this case, more is not better.
Wide Range of Energy Efficiencies
You will find that most of the houses built after the late ’70s used truss systems that incorporated the energy heel. This also corresponded with the “energy crisis,” which saw a massive increase in the amount of insulation blown into the attics. Four to 6 inches became 12 to 20 inches, and it is important to know that the more you tighten up a house, the more important it is to increase the ventilation. A fully insulated house demands a fully ventilated house to perform effectively. About 10 years ago, we built a house and a cheese-making facility, using R-panels, which are made from EPS foam sandwiched between layers of OSB panels. They are incredibly strong and energy efficient. They can get so tight it is difficult to open or shut a door because of the air pressure. That can potentially be dangerous in the event of poor indoor air quality and pollution. In this instance, we engineered a mechanical system to completely change the air twice an hour — and at the same time, saving the energy of the heated or cooled air with an air-to-air heat exchanger. The system supplied combustion air for the furnace and the stove, and also recycled the heated air from the bathroom fans and the oven exhaust, saving the heat, but exchanging the air itself.
Our projects have ranged from this extreme of efficiency to some of the older homes — some more than 150 years old — that had no insulation. They were wonders of efficiency for their time, and the builders understood all of these principles. It was common to see some of these elaborate homes with what looked like a “widow’s watch” observation tower with windows all around at the very peak of a low-sloped hip roof. Combined with a large central staircase, the owners could open the windows and inside doors in the summer, and the central hallway and the “widow’s watch” acted as a large chimney, moving the hot air out and pulling cool air in without any fans or electricity.
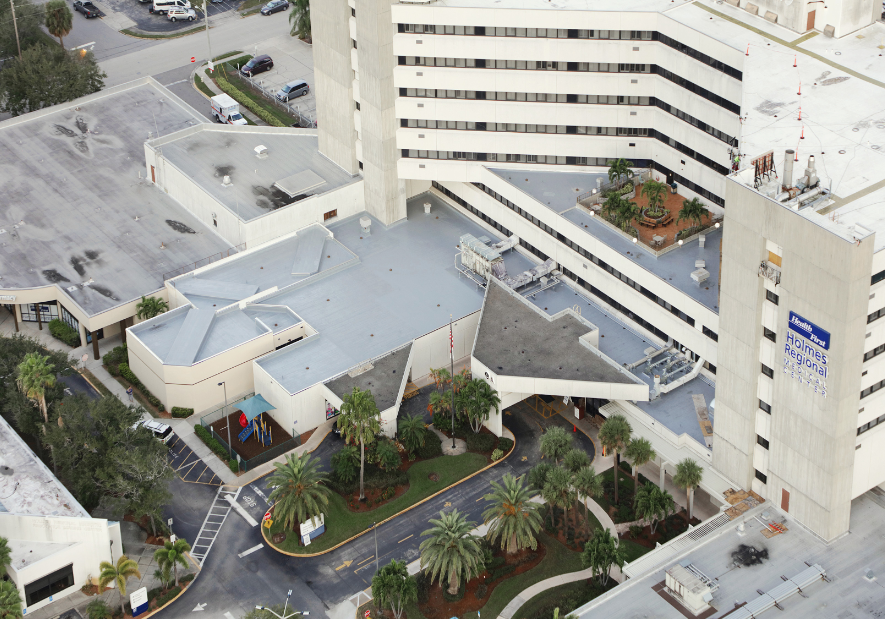
Many churches and other large buildings used the same principle to control the air inside, using either the steeples or large towers to act as chimneys as well as architectural and design focal points on these buildings. Problems often begin when we try and upgrade buildings to modern standards without taking into consideration how the changes will affect the design and operation of the building. Addressing these large, complicated buildings will be the subject of another article, but right now I want to specifically address the needs of residential houses built from the ’20s up through the late ’70s.
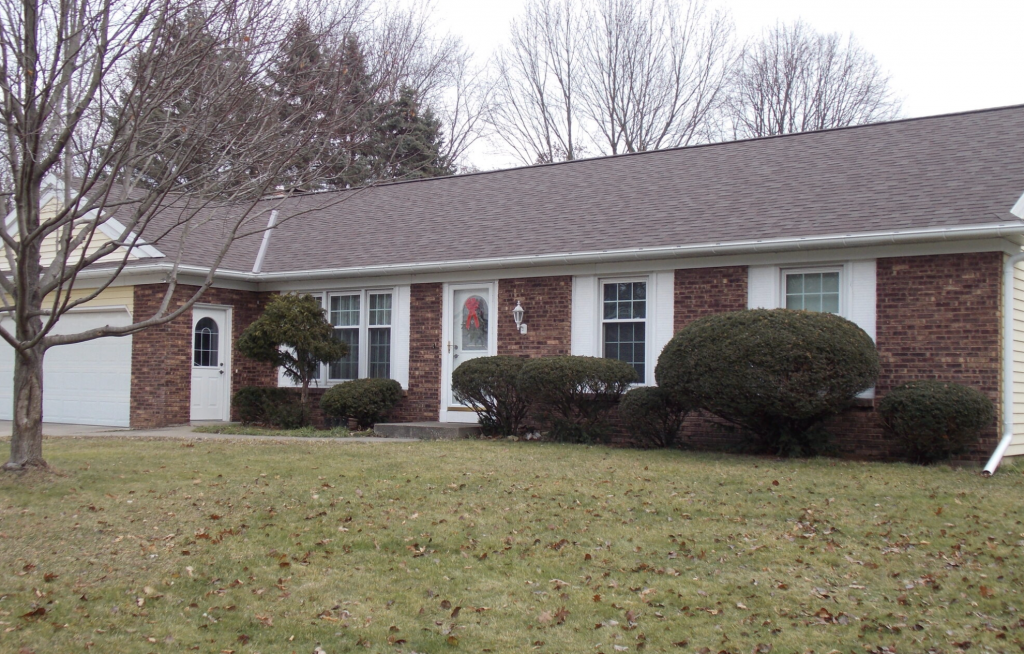
Homes Built From 1920-1979
There are millions of them. Before World War II, most were built with perhaps some minimal insulation or some aluminum foil to act as a radiant barrier, but energy was cheap and to do more would have been a waste of money. Without much insulation, there was little need for ventilation, as the house was drafty and, by definition, a drafty house is ventilating itself. After the war, the ranch-style house was the rage and I worked on thousands of them growing up. I have home movies of myself on the roof with my father when I was only four years old. By the time I was 10, I could lay out a roof and knew exactly what I was doing up there. Today, they would call that child abuse, but back then it was life. The point is that I lived and worked through this transition. In the ’50s, 2 inches of insulation in the walls was common and 3-1/2 inches in the ceilings. We would install some roof louvers in the attics and they would install some 3 inch vent strips in the wooden soffits for an intake. It was not much, but it was enough. Then the oil embargo occurred in the early ’70s and energy prices jumped.
Demand for insulation to save energy skyrocketed, and suddenly there were six pages of ads in the Yellow Pages for insulators. If some insulation was good, then more was better, and they blew insulation everywhere. Some was installed in the walls, but the biggest bang for the buck was in the attics, and it seems that all of the soffits were filled and the opening at the plate was blocked. Without this intake, the only thing that the roof louvers could do was let out some heat; the air movement stopped. The water vapor still got into the unconditioned attic space through whatever insulation was installed, and since it could not get out, it would condense in the insulation and on the wood surfaces and cause mold, rot and mildew.
Since there was no air movement at the plate, and the insulation was packed tightly against the bottom of the roof decking, in northern climates the heat would transfer to the roof surface during the winter, and ice buildup became a huge problem. In the southern climates things were reversed, and problems cropped up during the summer months when the air conditioning was running. Simply put, “You cannot fool Mother Nature!” Shingles that used to last for 25 to 30 years were now “cooked” in place in 10 to 15 years. Mold and algae became a problem on roof surfaces to a much greater extent than in years past, and most of this is and was caused by a lack of ventilation.
Tips for Avoiding Mistakes
Roofing is so much more than just installing shingles, but we have to be able to see the bigger picture to understand why. As a third-generation union carpenter, who is still working on roofs at 67 years of age, I love what I do and I am very good at it. Since I see the same mistakes being repeated again and again, I feel obligated to pass on the experience that I have accumulated over the years. I have learned some hard lessons making all of the mistakes I am talking about here, and hopefully all of us can learn from them.

Here are some tips for avoiding common ventilation mistakes at each stage of the re-roofing process:
- Check the attic space when you figure a new roof.
- If you can’t see light coming from the soffit into the attic, then there is no air getting in either. · At this point, you either have to become a carpenter or soffit man — or hire one.
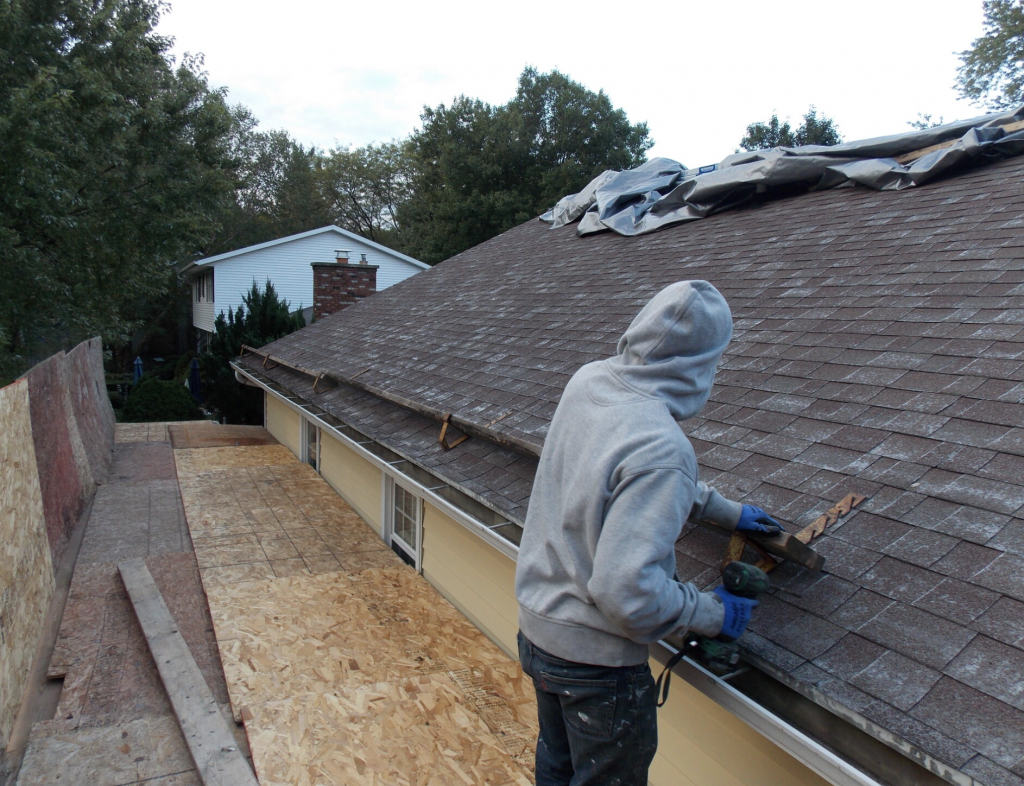
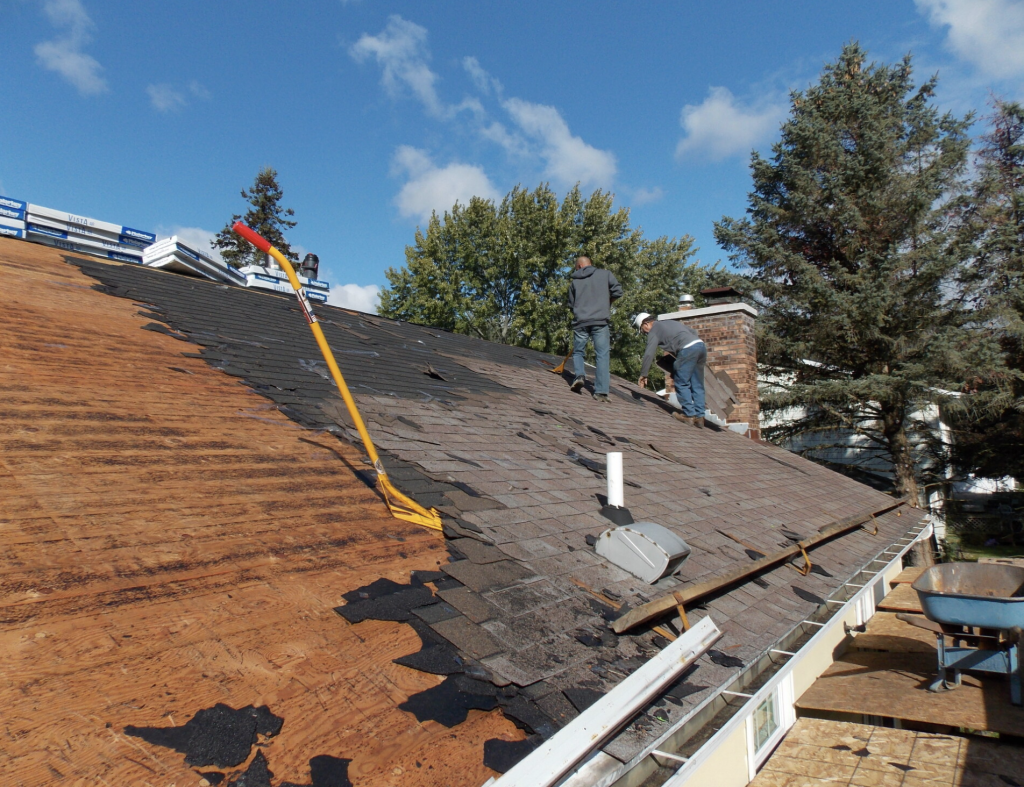
- Take apart the soffit as you do the roofing tear-off.
- You may need to remove the bottom sheet of plywood to see what you are doing from above.
- If the soffit is aluminum or vinyl, chances are that there is an original wooden soffit beneath it.
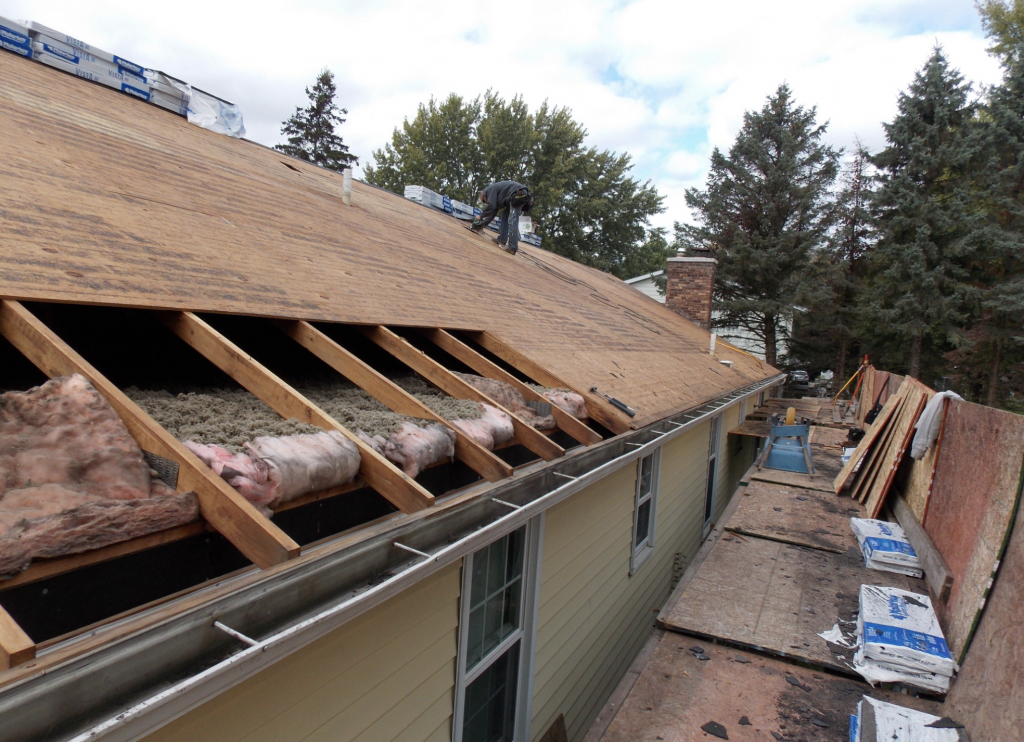
- Tear it all out. Take out the insulation that has been blown into the soffit at the same time.
- Replace the old soffit with a fully vented aluminum or vinyl soffit system. Vented aluminum has twice the Net Free Area as vinyl for the same square footage, but they both work.
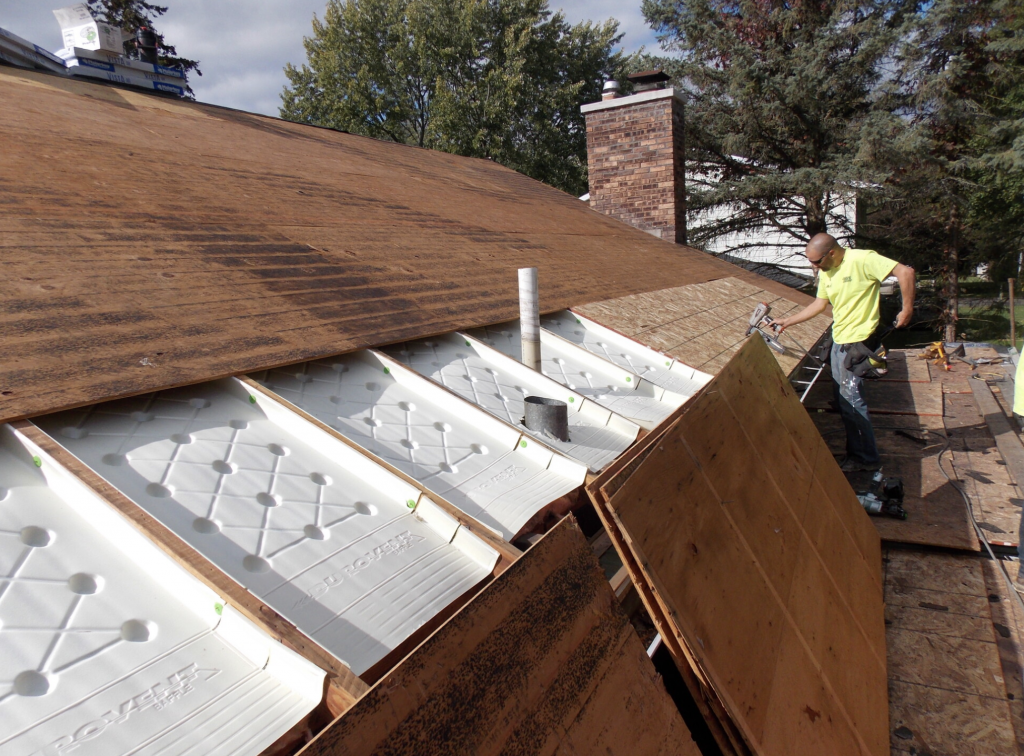
- Install proper vent baffles at the soffit to create an air channel into the attic from the soffit. You cannot let the insulation touch the bottom side of the roof deck.
- Check the bathroom vents and make sure that they are vented to the outside with a flapper vent through the roof and not vented into the attic space.
- Do the same for any kitchen vents.
- Install new sheeting along the bottom after you have fixed all of these problems.
- Determine how much ventilation you need to vent the attic space (square inches). Normally, this is 1/150 of the attic floor space. (For example, if the attic floor is 30 feet by 50 feet, the attic floor area is 1,500 square feet. 1,500 divided by 150 = 10 square feet of ventilation.)
- You need this much ventilation opening at the high point of the roof, ideally at the ridge.
- If you install a ridge vent, take out and cover over the holes of the old roof louvers, turbine vents and gable end vents. You can just install some felt or plastic sheeting over the gable vents from the inside.
- This will give you one intake at the soffit area, and one exhaust at the ridge. Don’t worry about having too much intake at the soffit, as it will only allow as much air in as it exhausted at the peak.
- Install the new roof as per code.
Ensuring Safety and Efficiency
We will normally erect a scaffold around the perimeter of every job we do to give us access to this important area of the roof. This may sound like overkill, but that is the area where you want to spend the most time, as that is where the problems normally occur. It can be more expensive, but what we are talking about is value as opposed to price. Quite simply, I am not interested in talking to someone whose only concern is the cheapest price. On a steeper, higher roof, you will find that this is actually a faster and cheaper way to work, too. With a catch platform around the building, you have a place to work and store materials, you can see exactly what you are doing, and you also don’t need to have harnesses and ropes to obstruct you and still meet OSHA standards. Since I sell the jobs but also work on them, this is what I prefer. It is also impressive for the homeowner and it sets us apart from most of the competition. We have been doing it like this since 1986, so I know that it is a viable option. Scaffold is expensive initially, but when you have used it once, you will wonder how you did the work without it. It is also a line item on all of my bid forms, and after it has been paid for it is a profit center, too. That is the best of all worlds.
I have read that experience is what you get when you are looking for something else. I have many years invested in looking for “something else,” so I hope that this article helps you avoid just some of the mistakes that I have made in my lifetime.
About the Author: John R. Crookston is a roofing contractor and consultant located in Kalamazoo, Michigan. He has more than 60 years of experience in the roofing industry and has written technical articles for a variety of publications under the pseudonym “Old School.”


Be the first to comment on "Tips for Improving Ventilation on Residential Re-Roofing Projects"