
We began the third day of testing, again, on the peaked skylight and, sure enough, leaking water finally became apparent. Surprisingly though, very little water came directly through the skylight to the building’s interior. Instead, water began pooling once again between the layers of the adjacent roofing. We had previously drawn lines around these water blisters (like bodies at a crime scene) so as soon as they began to grow we knew we had found the problem. Where water did make its way through the redundant layers of roofing, we noticed it traveled through the flutes in the steel deck, sometimes for quite some distance, before dropping through on top of ceilings as it had during the nor’easter. This was truly “an aha moment”.
PROBLEM IDENTIFIED
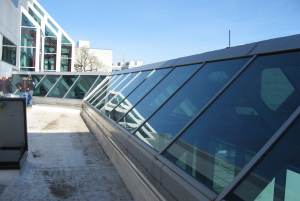
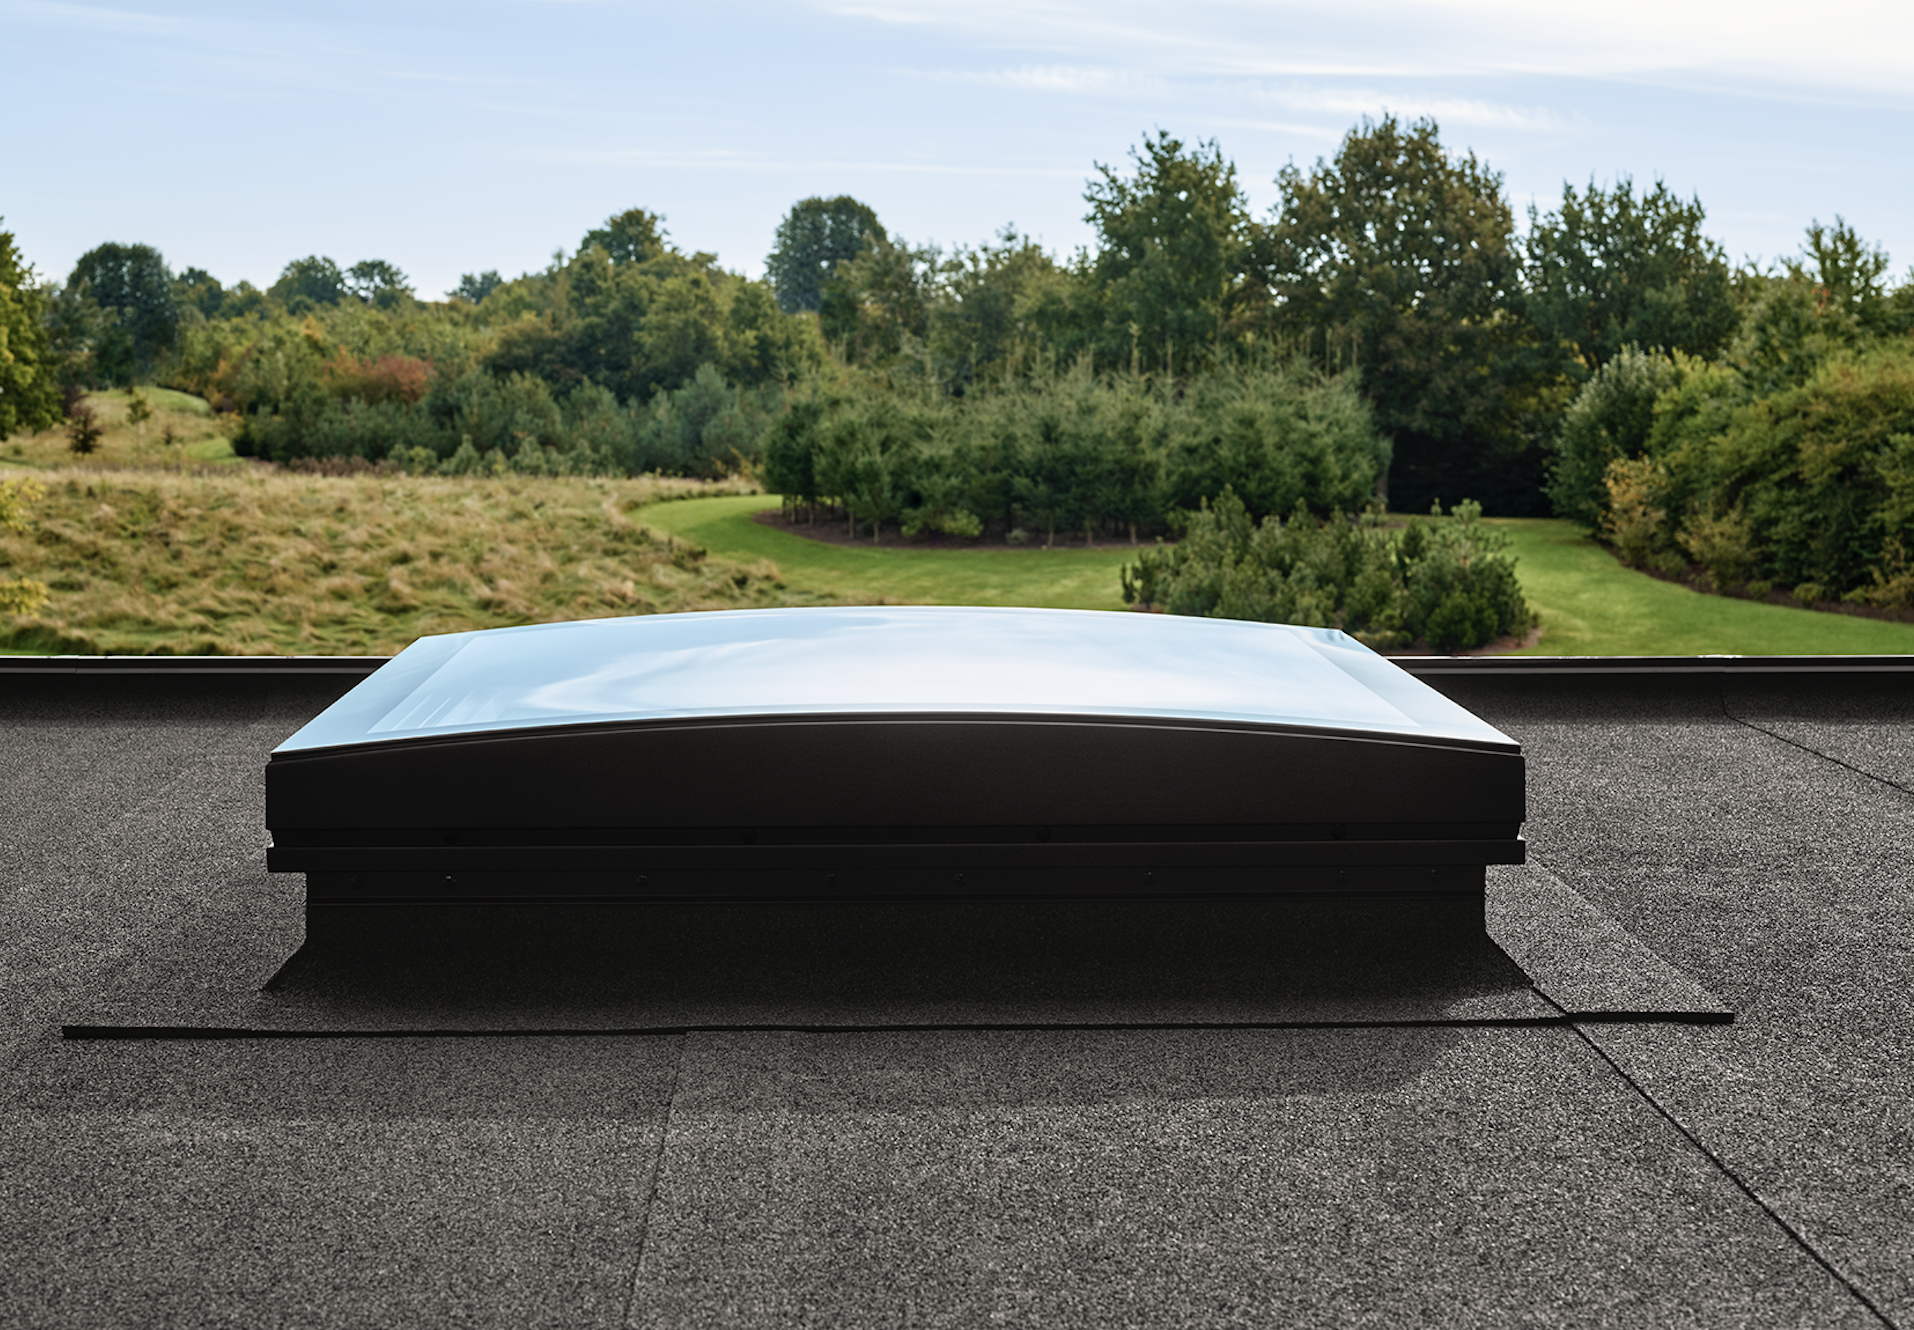
The roof’s adjacent skylight—the peaked skylight formed by the vertically extended curtainwall—is more than 75-feet long.
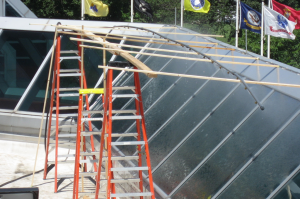
At this point, the skylight restoration contractor stepped up and began re- moving the aluminum trim and exposing the aluminum framing system and glass connections. Soon, it was evident the internal gaskets had dried out, allowing water to get into the framing where it was running vertically through the hollow framing members. Moreover, the system’s weep holes were, for the most part, plugged, so this water was not able to drain back out above the upper termination of the base flashing of the adjacent roof.
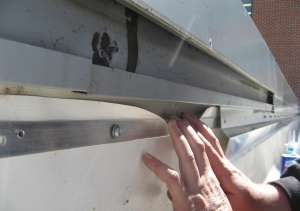
Upon close examination, dirt tracks (left by the water) were clearly depicting how the water was entering the roof system. In retrospect (because hindsight is always 20/20), this skylight system was original to the building—some 35 years old—and it had likely been absorbing water for some time. Long enough, at least, for the internal drainage system to clog up because of the dirt, which is inherently carried by water.
The third day of testing on the peaked skylight revealed the leaks.
It is important to note for those of you who will find yourselves in the position sealants are only good for a period of five to seven years before they begin to fail and the process of leaking starts all over again.
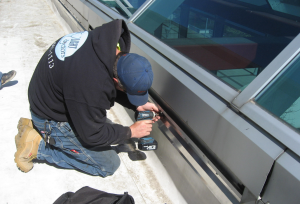
The skylight restoration contractor exposed the aluminum framing system and glass connections, which revealed internal gaskets had dried out and the system’s weep holes were plugged, so this water was not able to drain back out above the upper termination of the base flashing of the adjacent roof.
It should also be noted that without addressing the internal weep system any such water within cannot leach out as designed but will find its way to where it shouldn’t be. Remember, too, that water is construction’s worst enemy, so when it goes where it shouldn’t, it’s causing damage—seen or unseen.
FINAL STEP
Once the skylights were restored, the last step in the process was to get the roofer to open up the “waterbed areas” where water had pooled within the roof system. These blisters were allowed to dry (or forced to dry with heat guns) before the membrane was resealed with heat-welded target patches. A really nice feature of the thermoplastic cap sheet is the ease and certainty of such repairs.
The skylight restoration contractor exposed the aluminum framing system and glass connections, which revealed internal gaskets had dried out and the system’s weep holes were plugged, so this water was not able to drain back out above the upper termination of the base flashing of the adjacent roof.
PHOTOS: USA ARCHITECTS, PLANNERS + INTERIOR DESIGNERS
TEAM

Areas where water had pooled within the roof system were allowed to dry (or forced to dry with heat guns) before the membrane was resealed with heat-welded target patches.
Architect: USA Architects, Planners + Interior Designers, Somerville, N.J.
Testing Agency (water spraying apparatus): Intertek Architectural Testing, York, Pa.
Skylight Restoration Contractor: Skylight Doctors, Ambler, Pa.
Roofing Restoration Contractor: Nova Maintenance Inc., Andover, N.J., (908) 979-1633
Roofing Manufacturer: SR Products, Macedonia, Ohio

Be the first to comment on "Locating the Source of Water Intrusion Can Be Tricky"